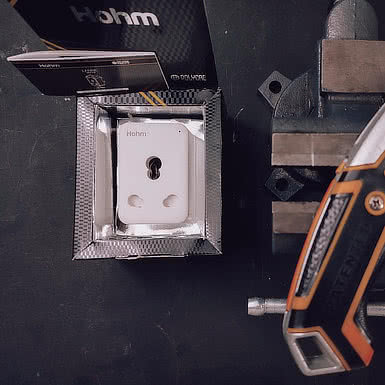

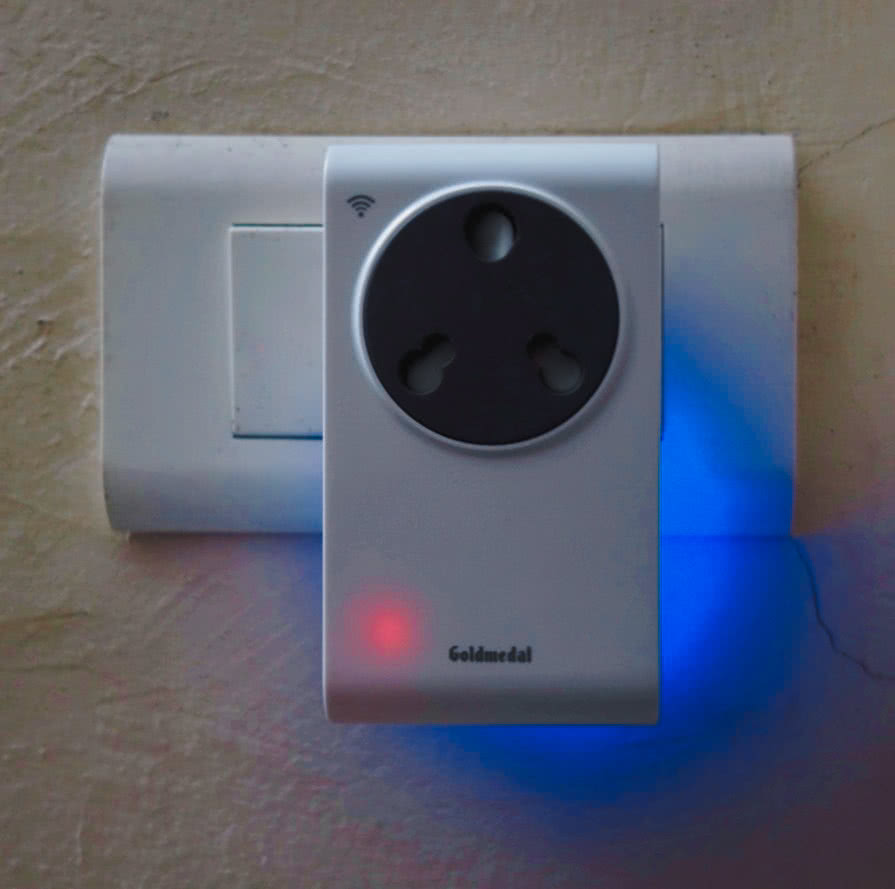
Tasmotizing a Goldmedal Wi-Fi Plug
Pursuing a far more straightforward commandeering expedition with this wi-fi connected power monitoring socket, complete with a couple of unexpected detours.
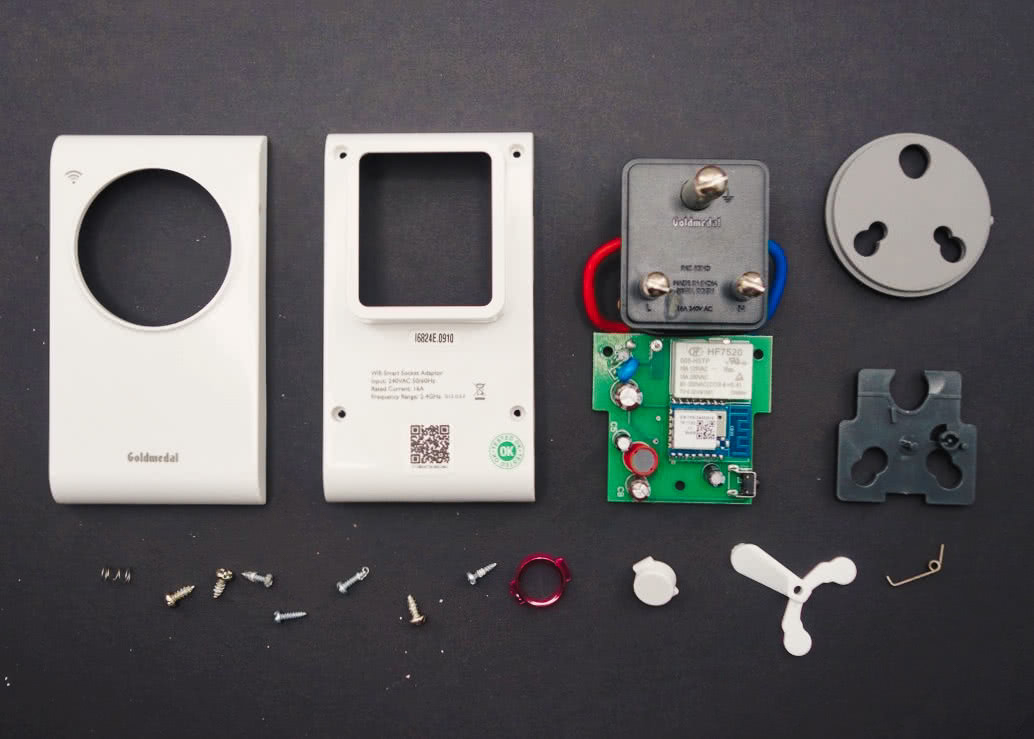
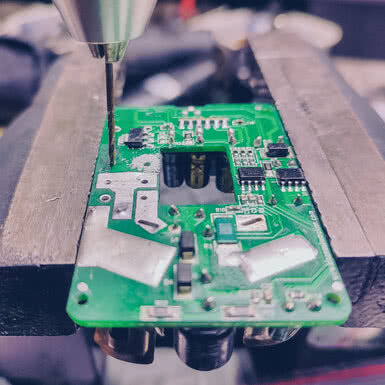
Everything comes apart happily with four external screws and three internal that were holding the pcb in place.
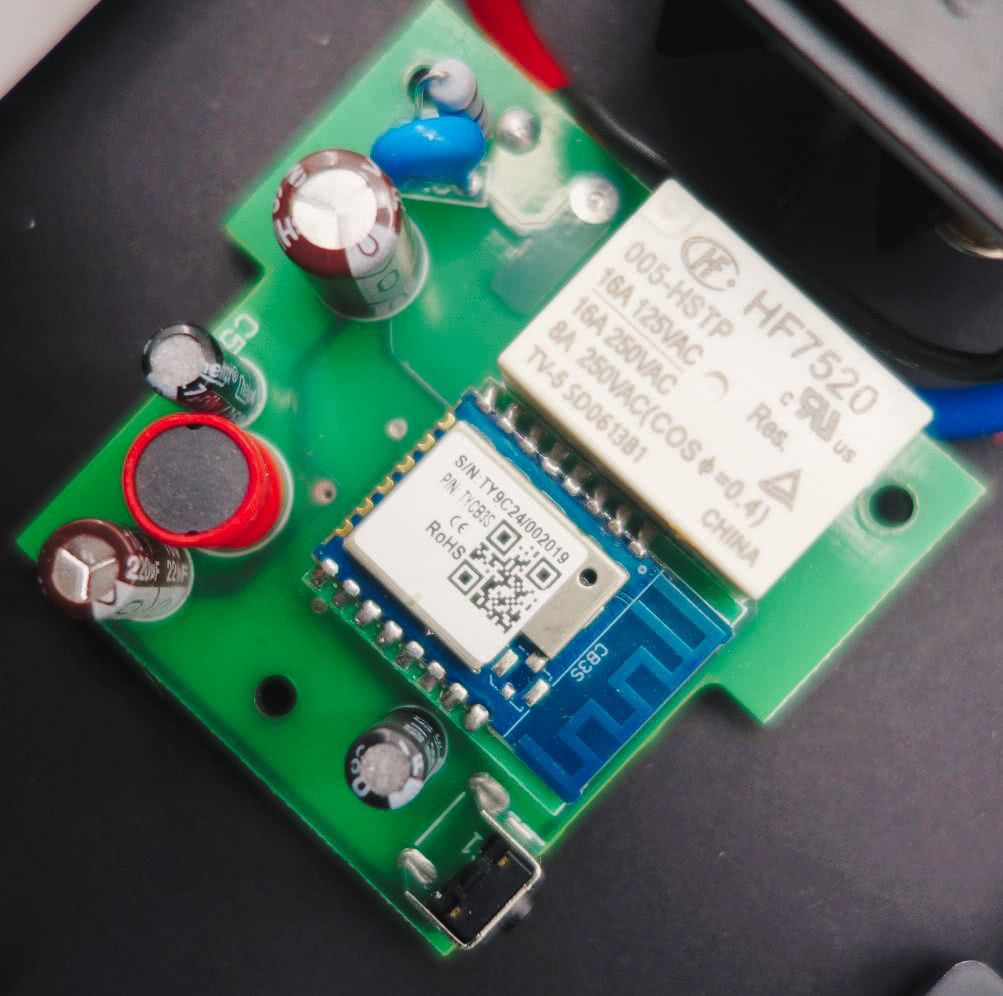
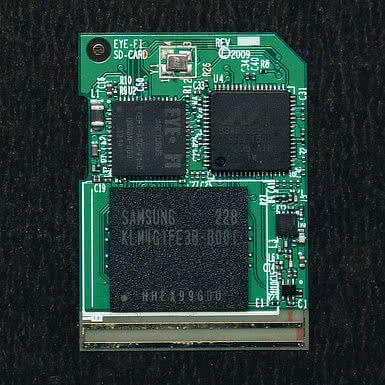
The wi-fi controller is an unfortunate Tuya CB3S.
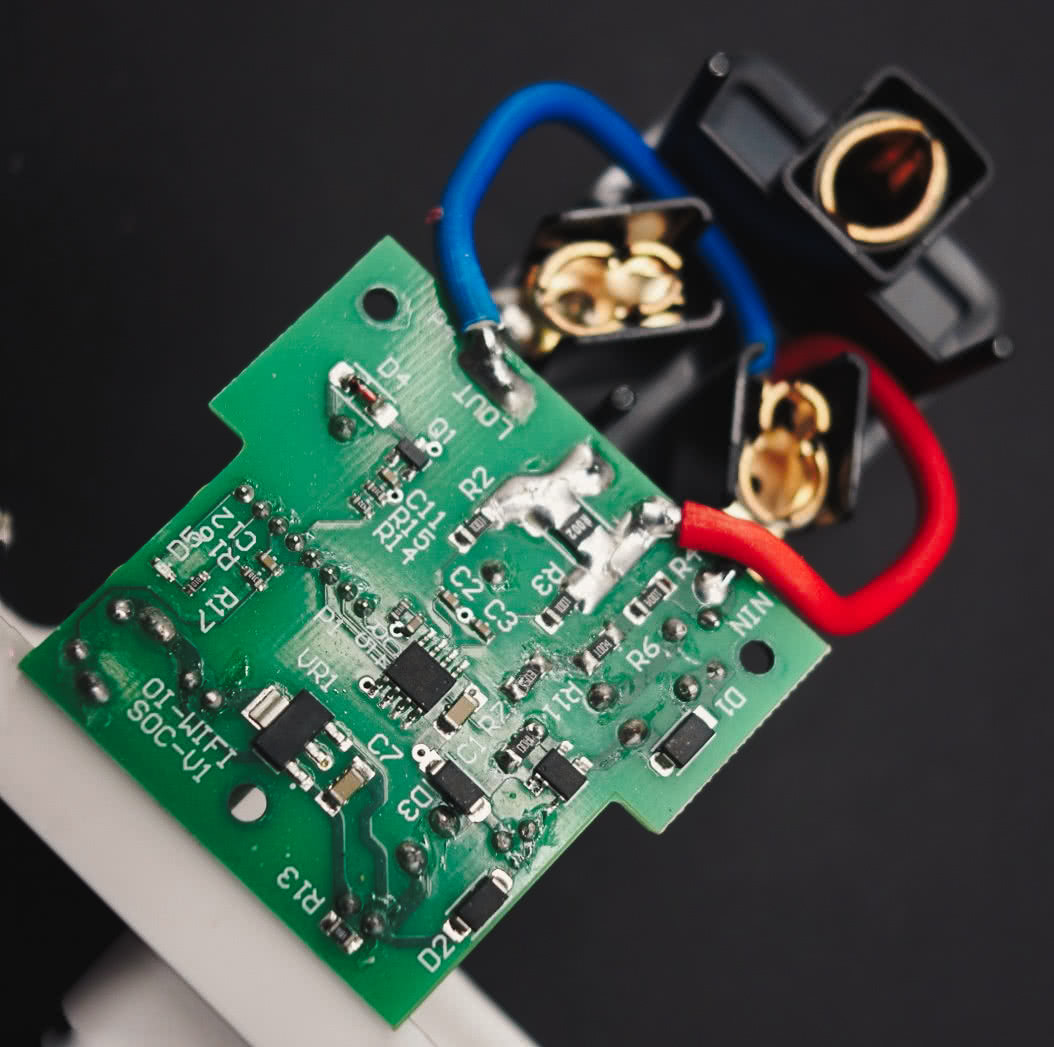
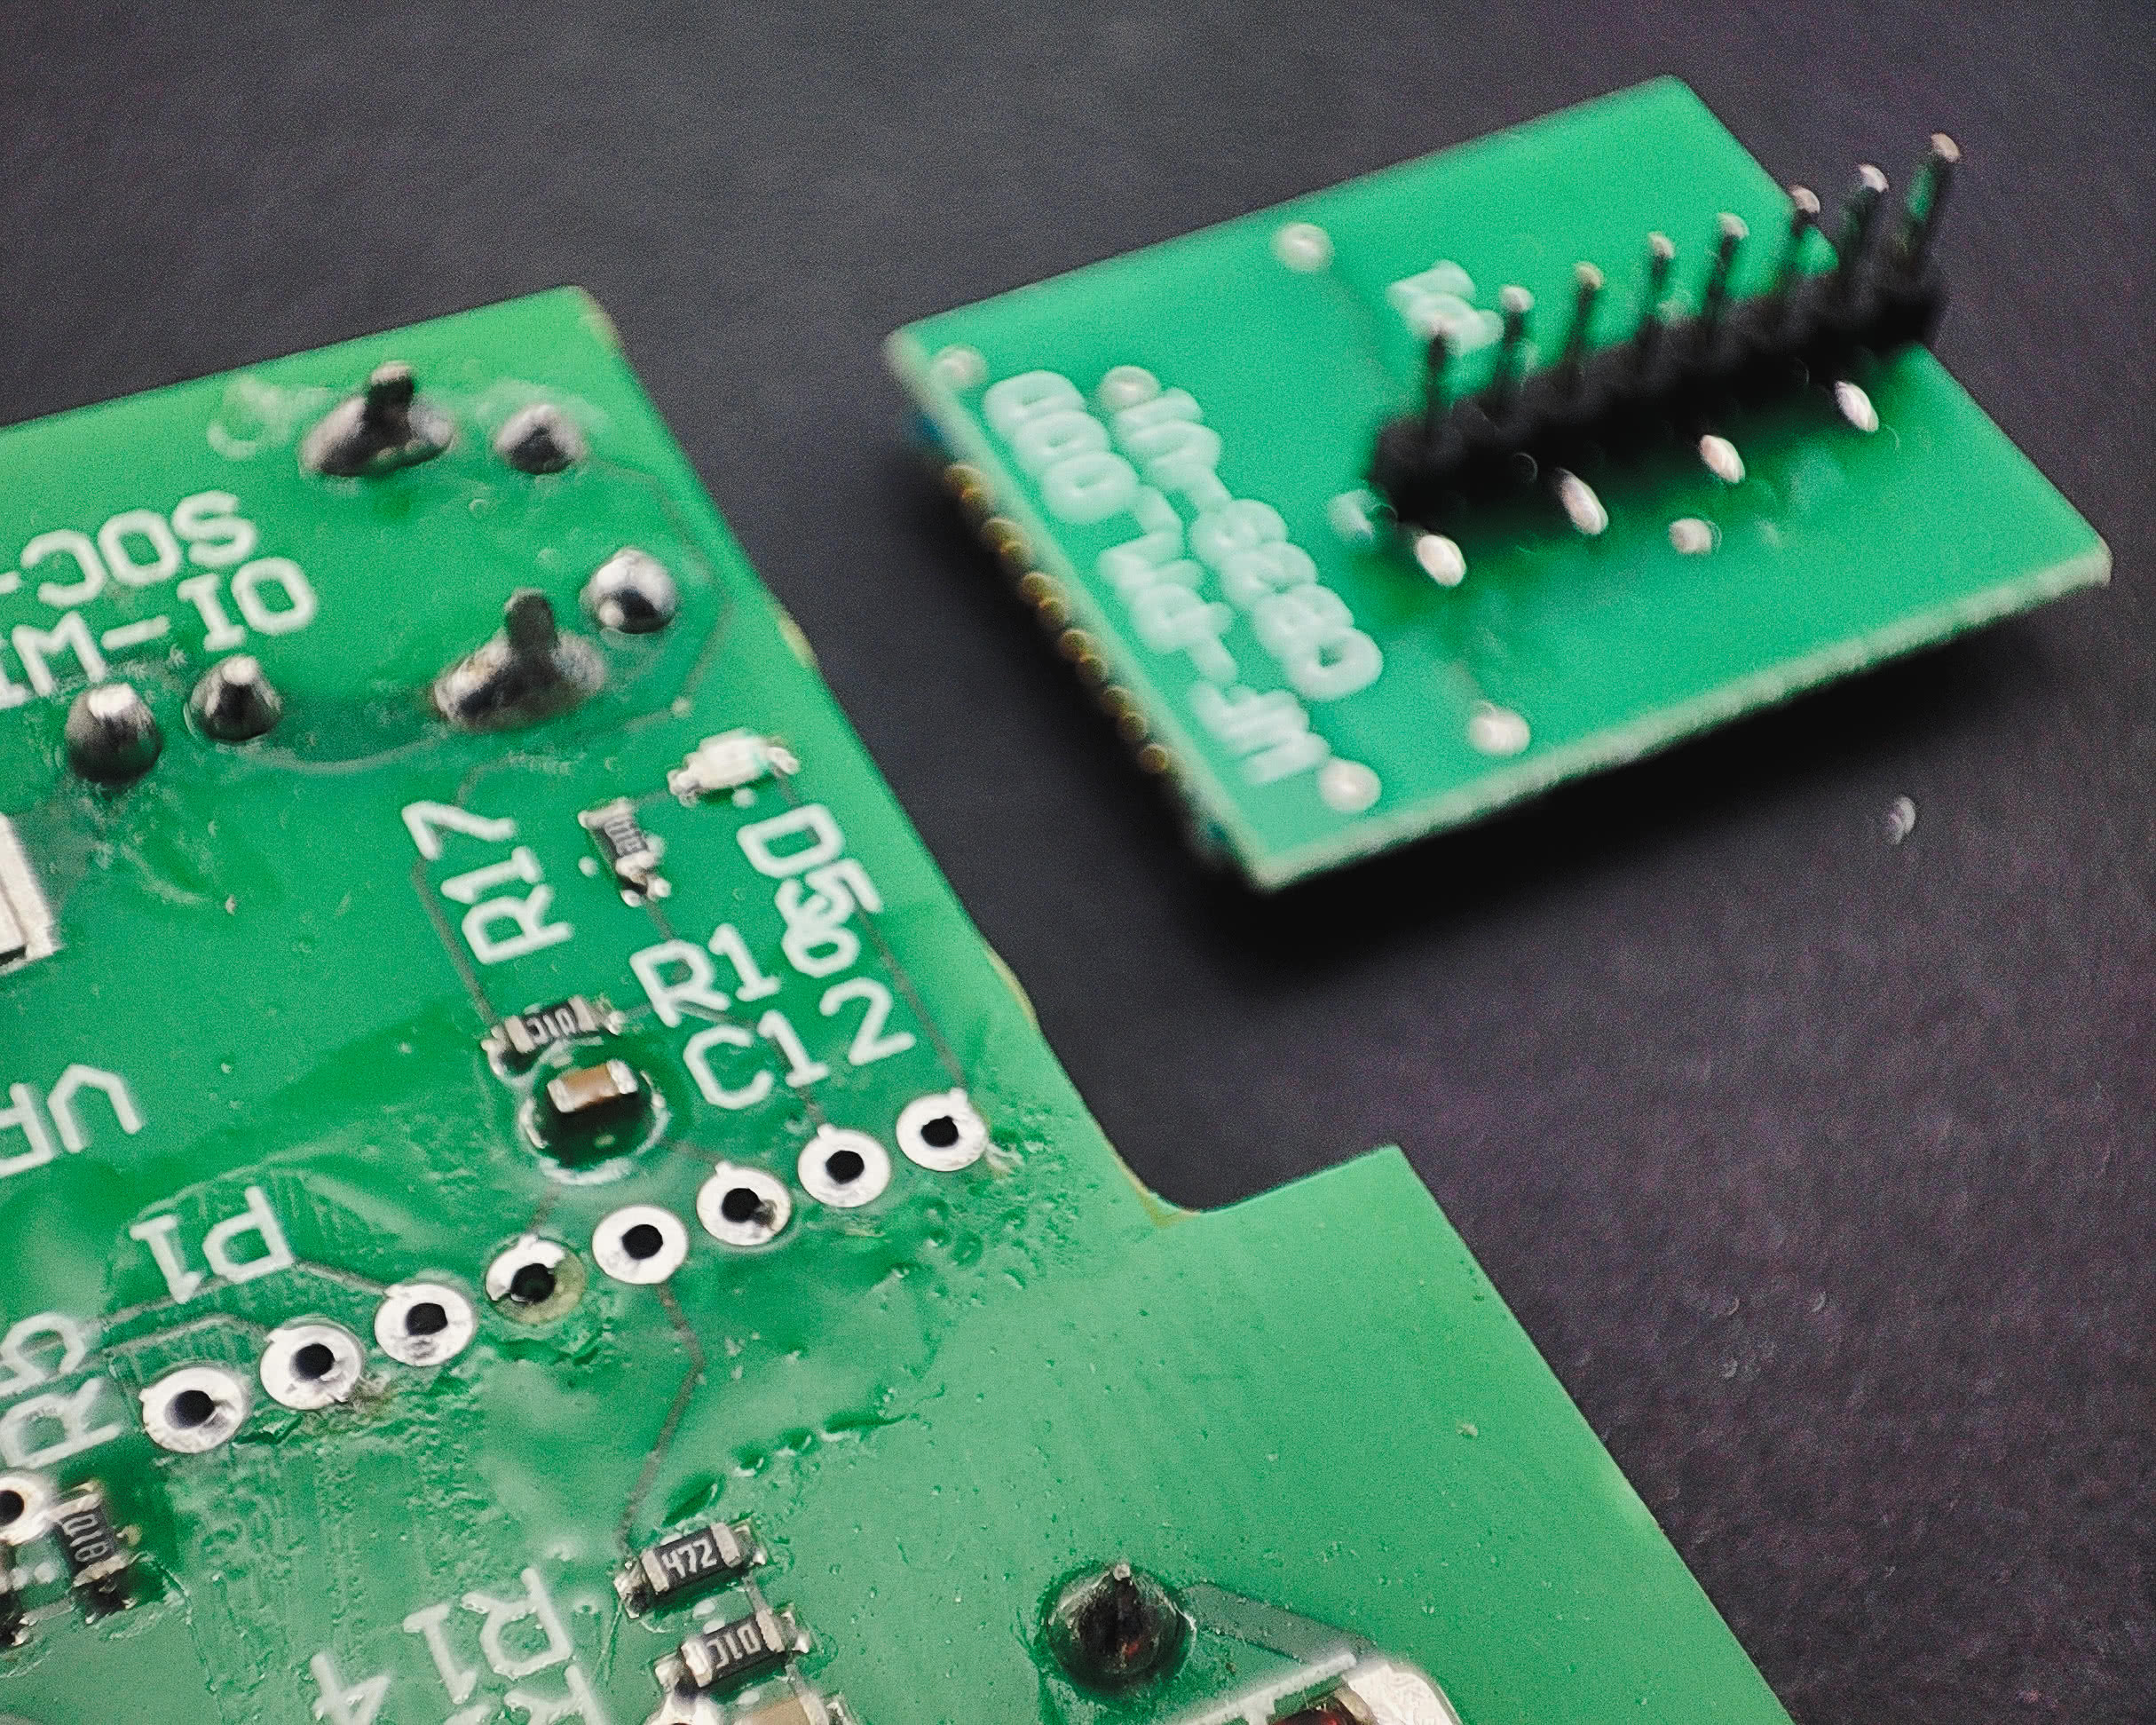
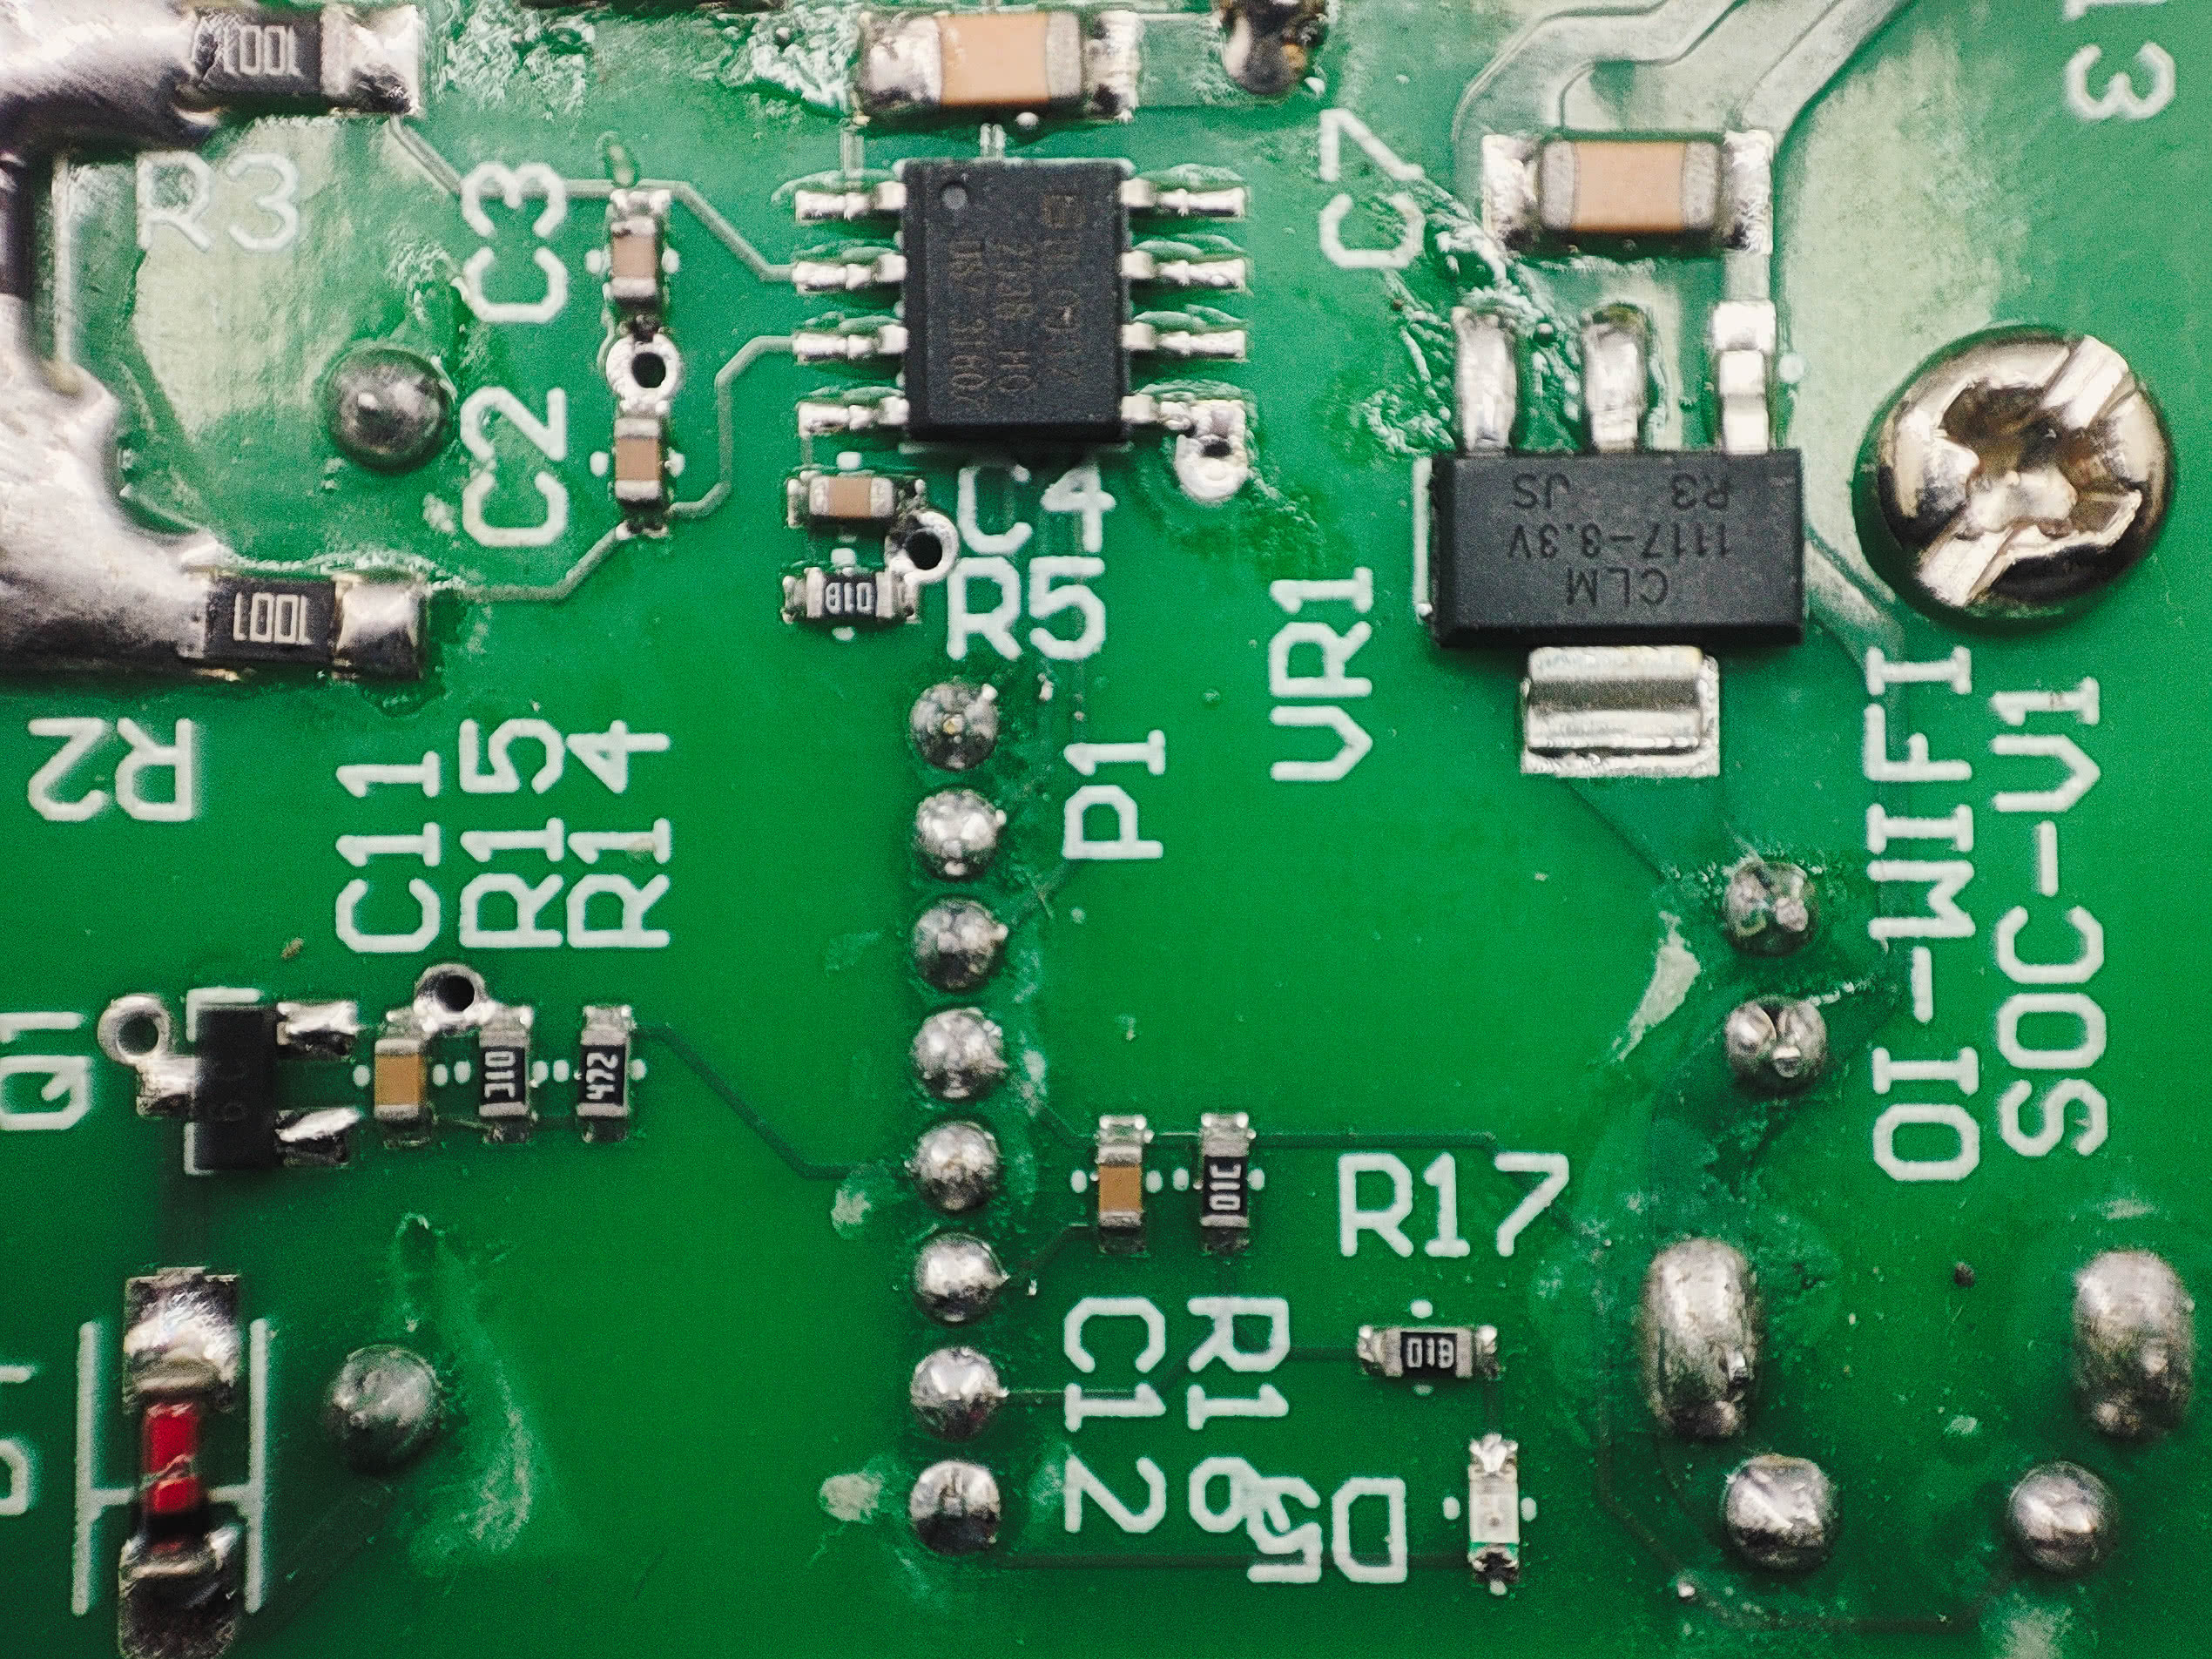
An easy-to-trace pcb layout featuring amateur-hour-esque tiny solder pads with no fill or relief.
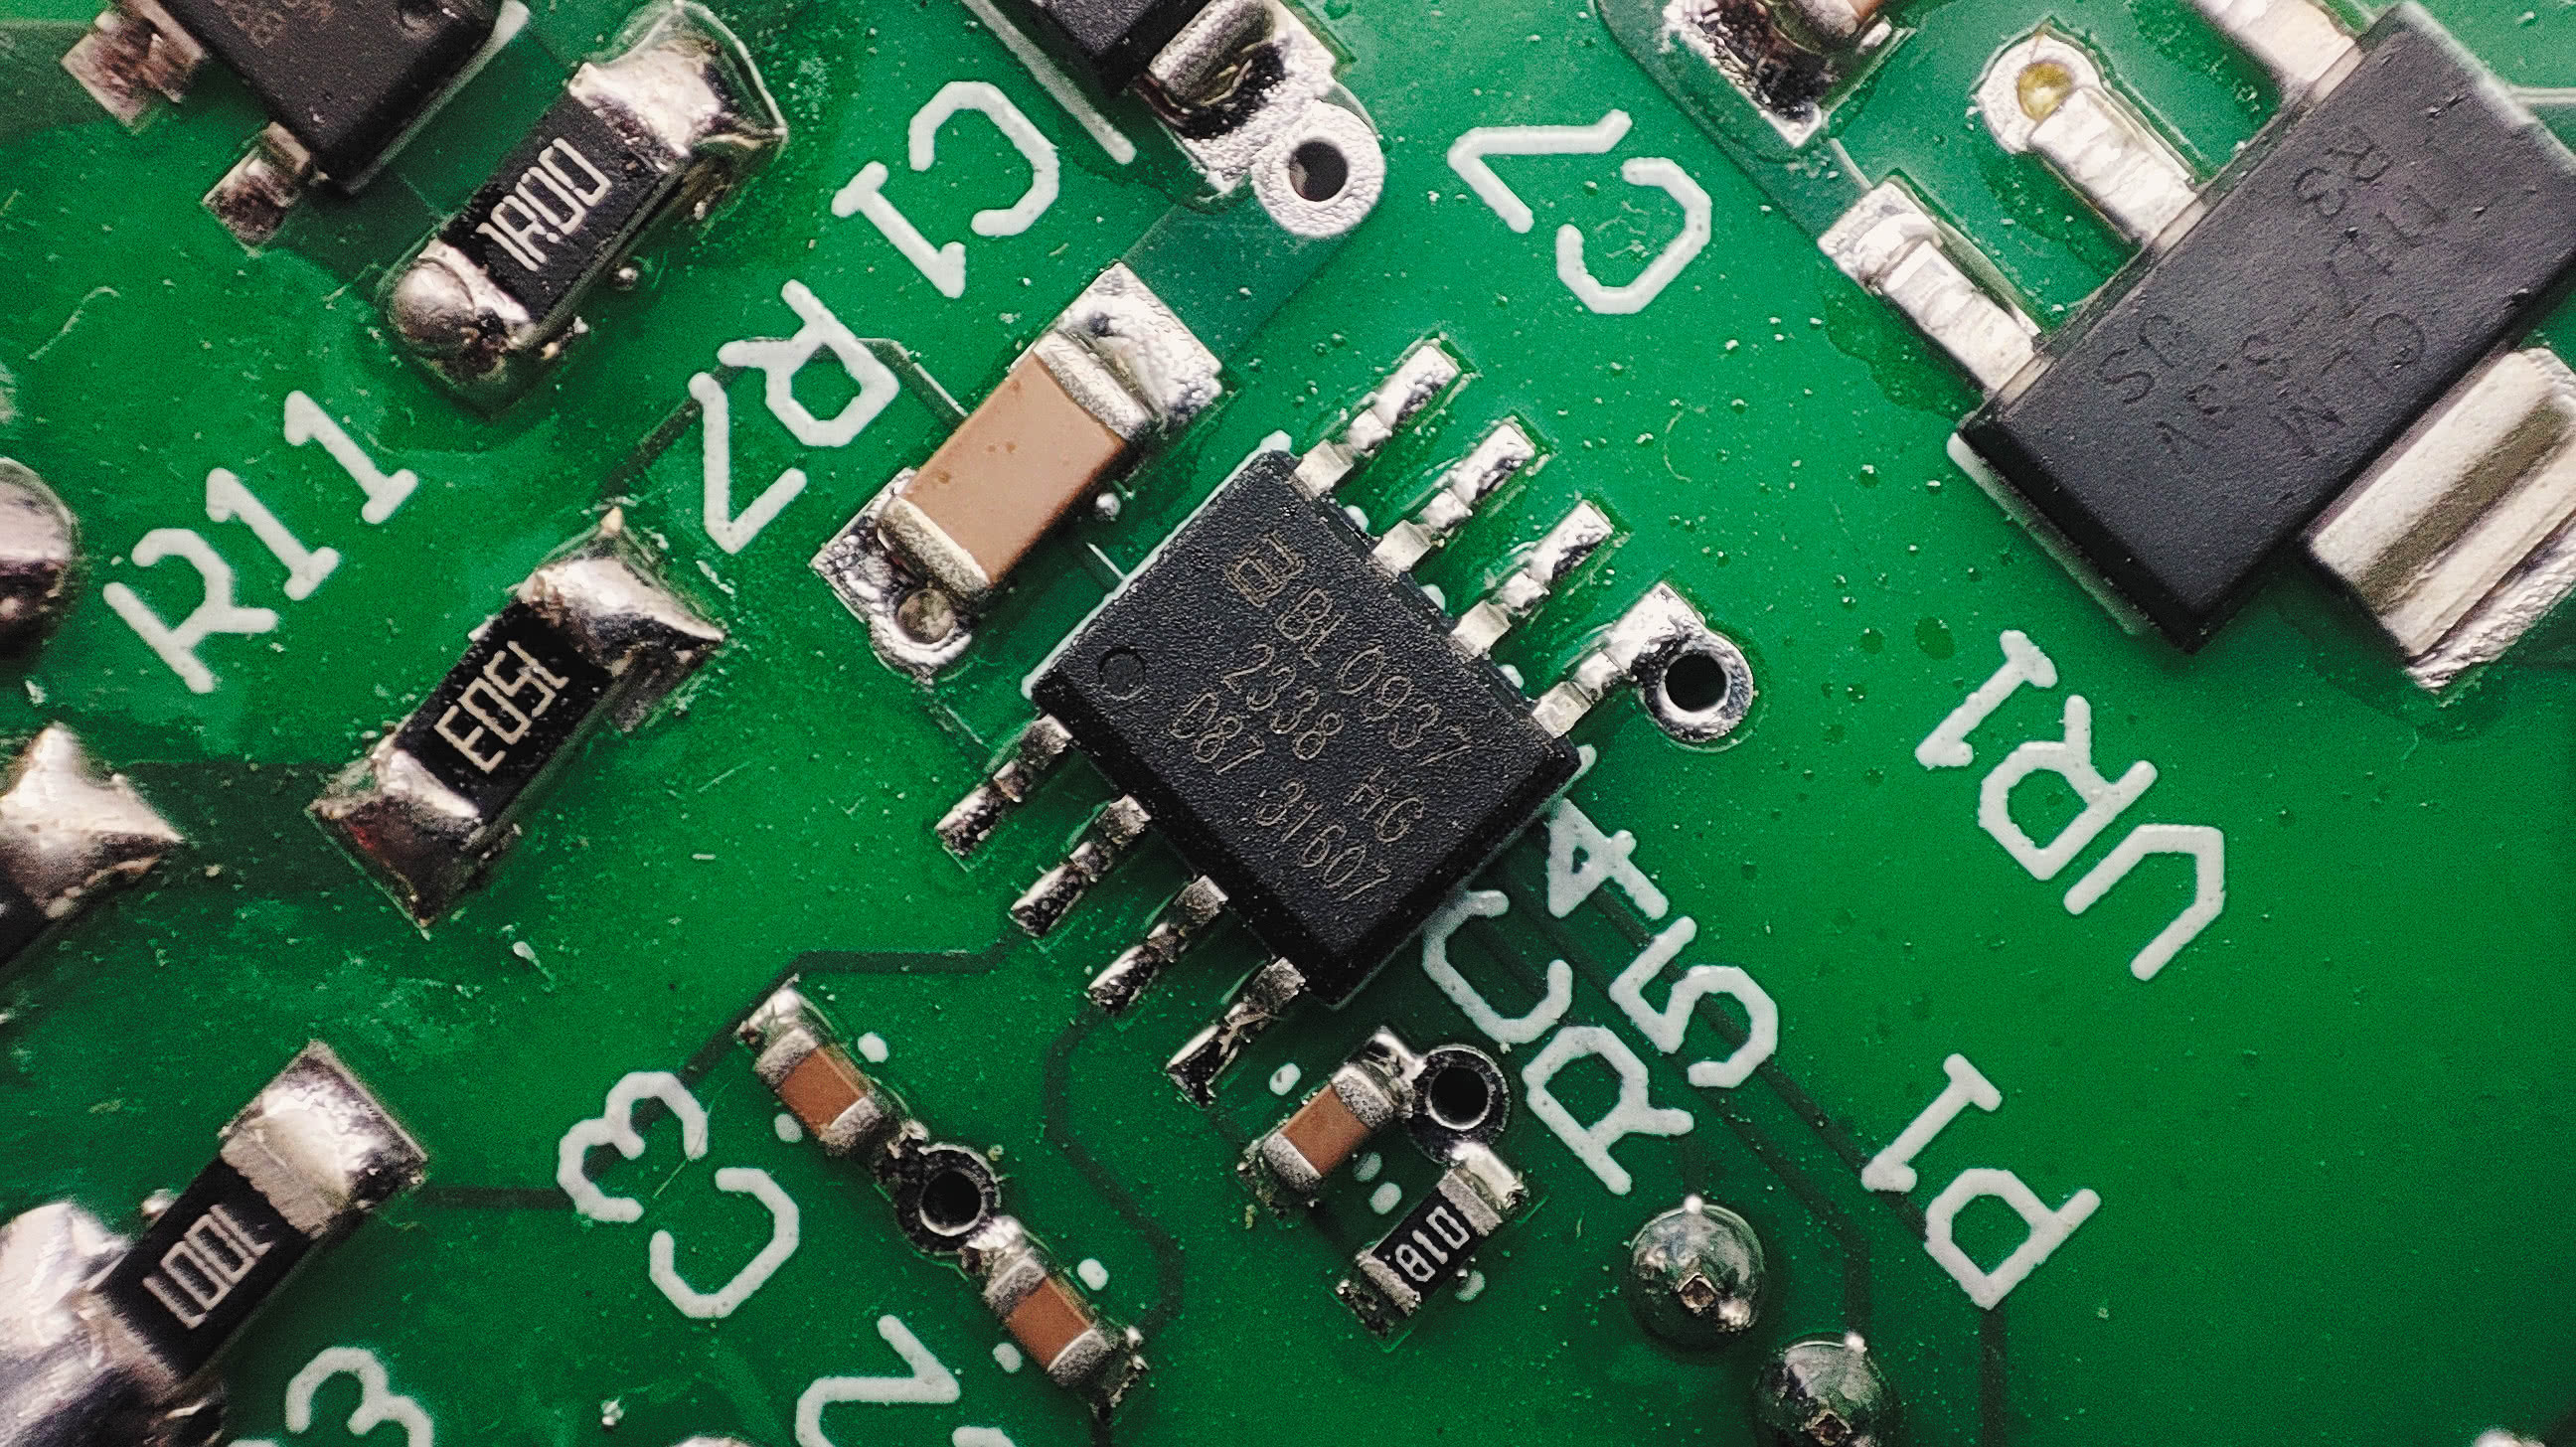
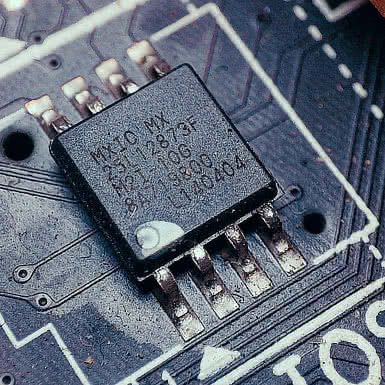
Power monitoring is with the BL0937 energy meter chip.
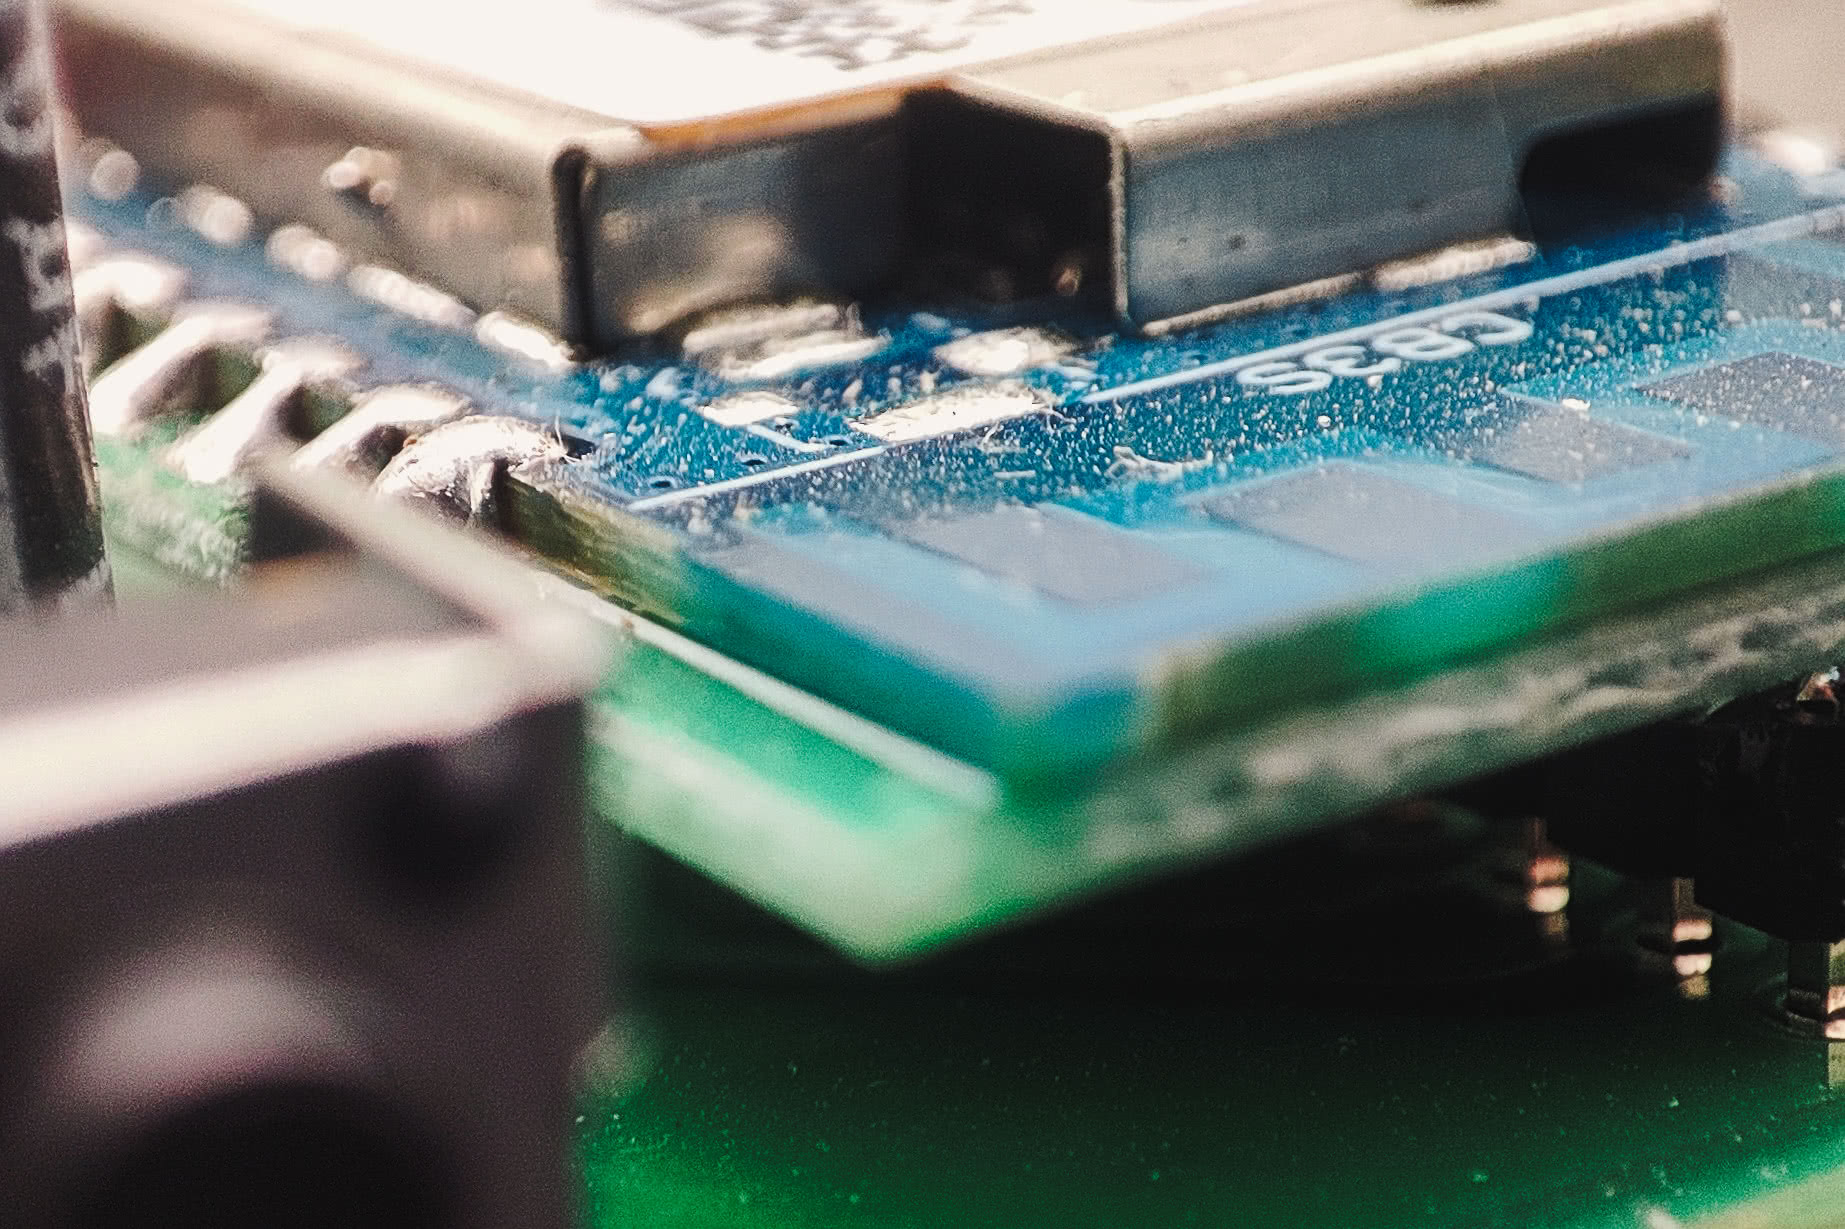
The wi-fi controller is mounted on a carrier board, which is connected through a surface-mount header — clever.
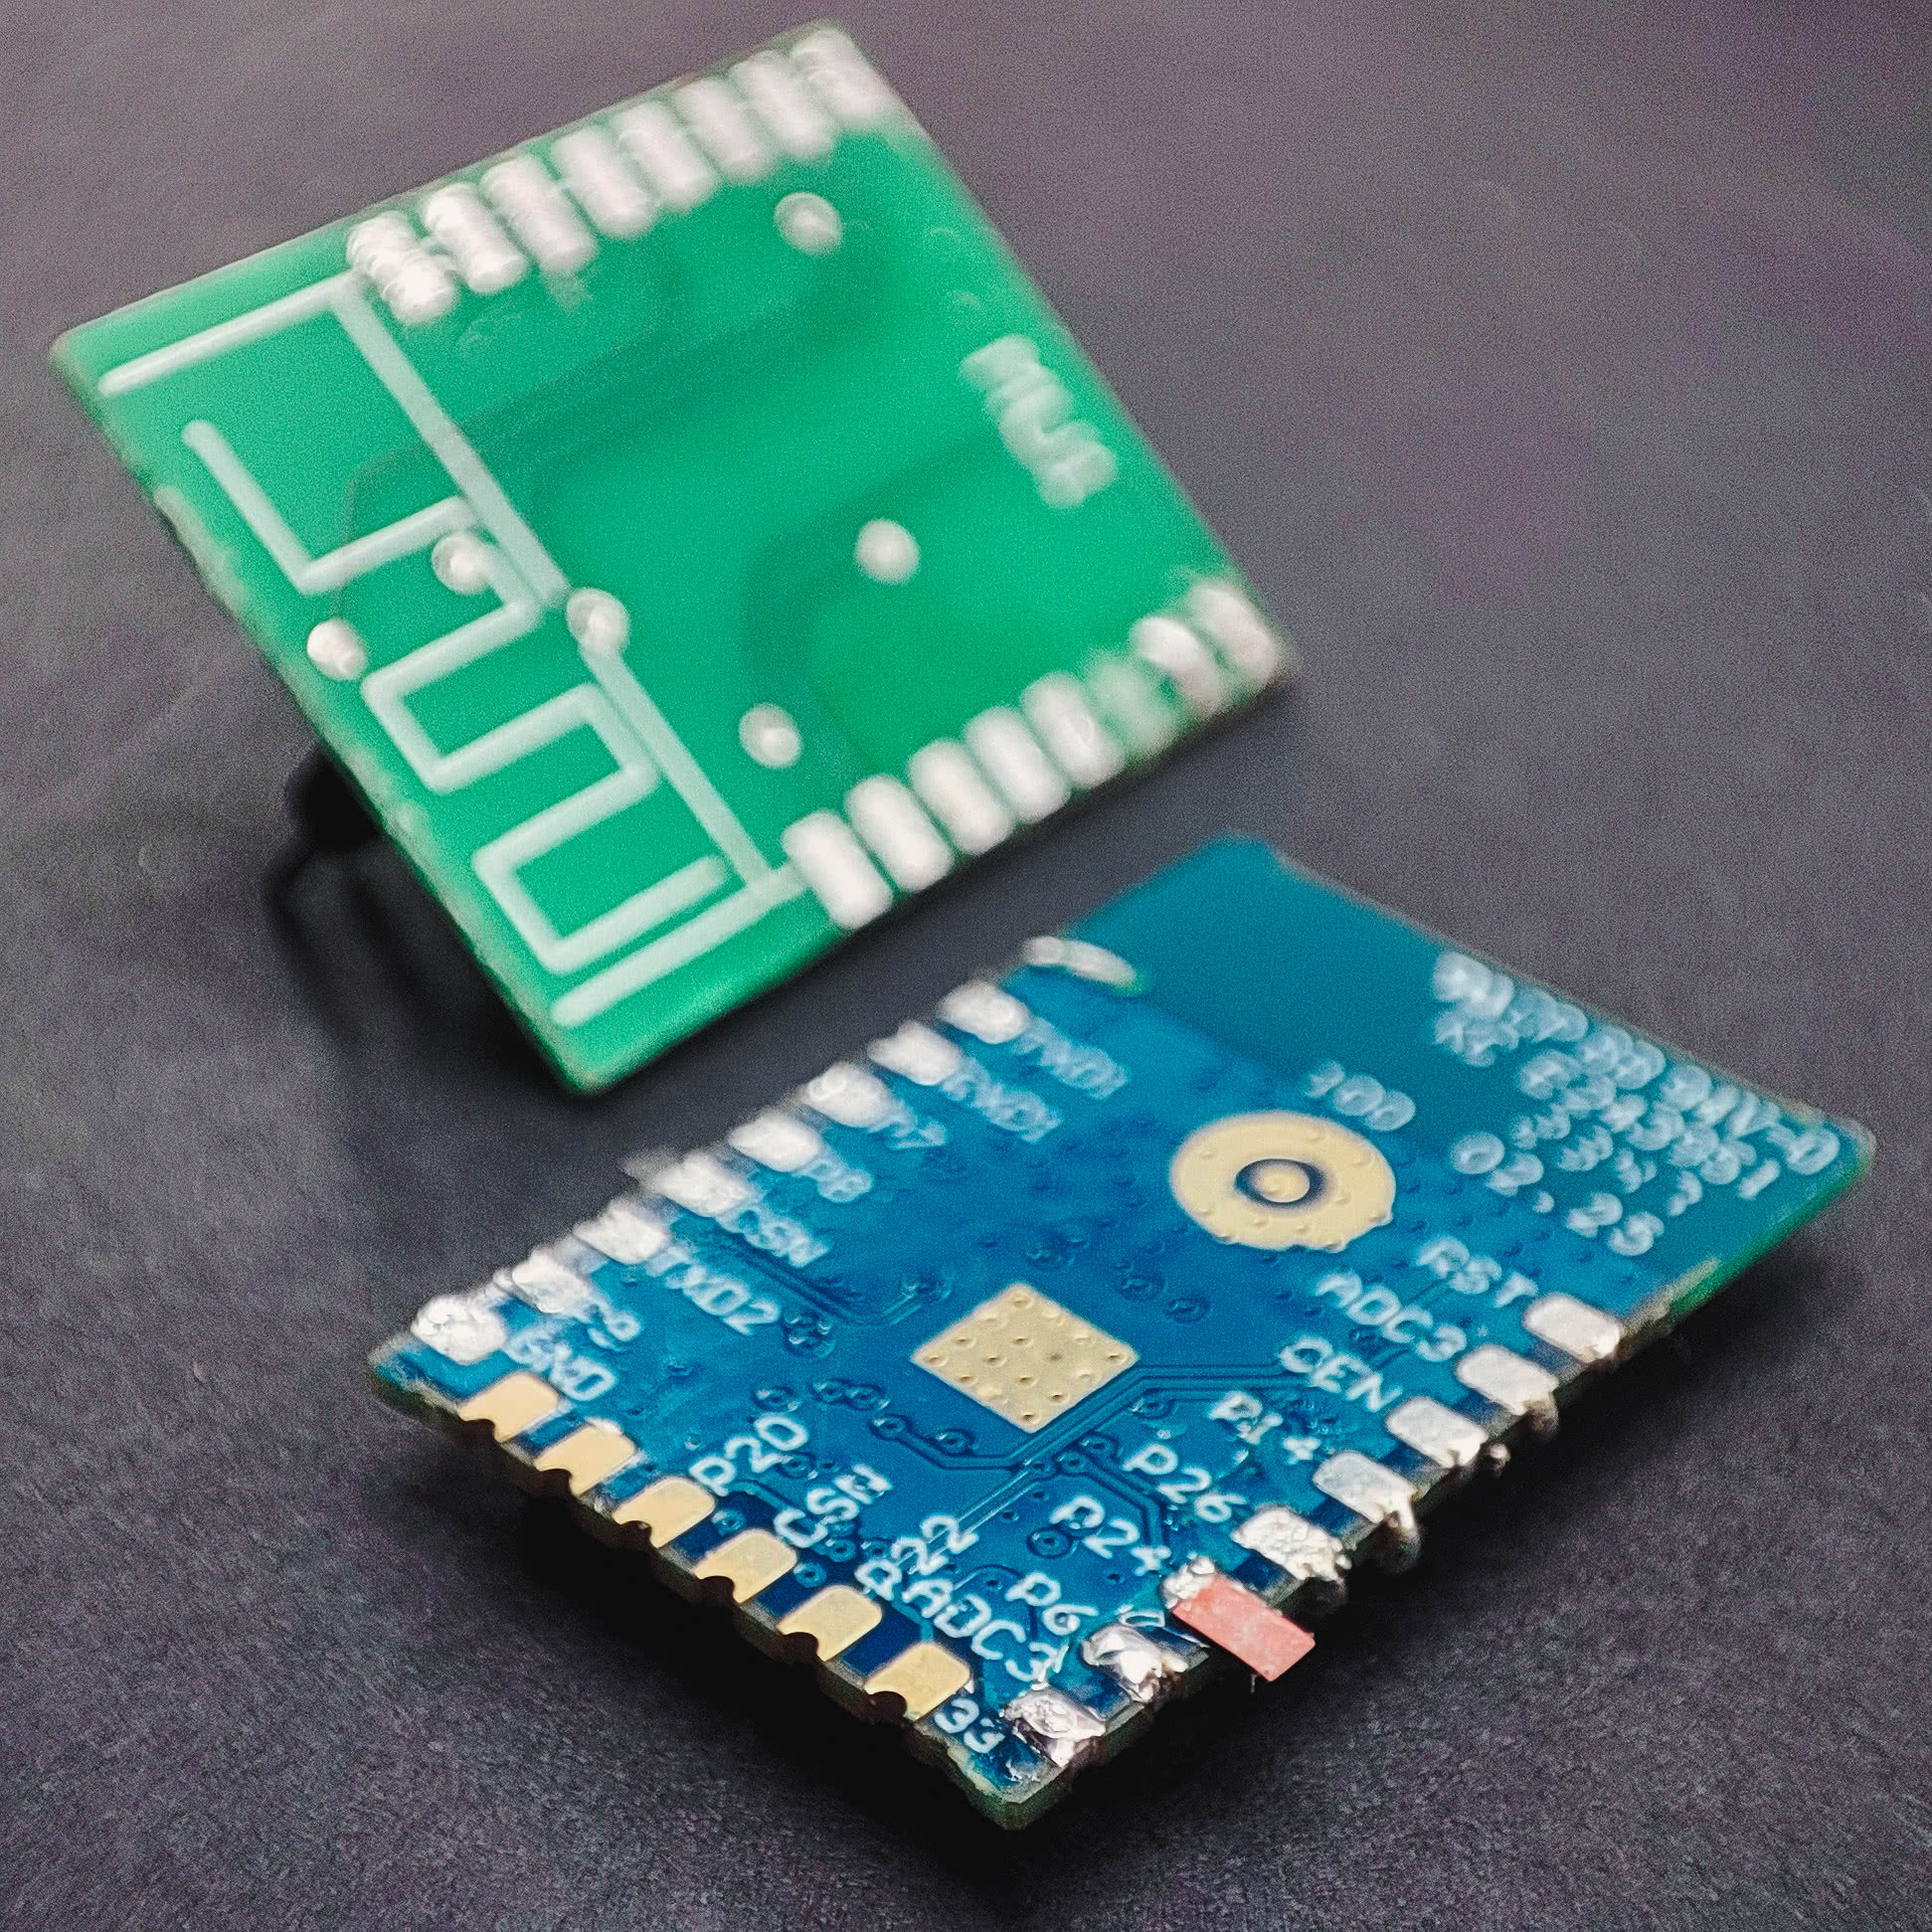
Chance is in favour, with only half a solder pad lost during desoldering.
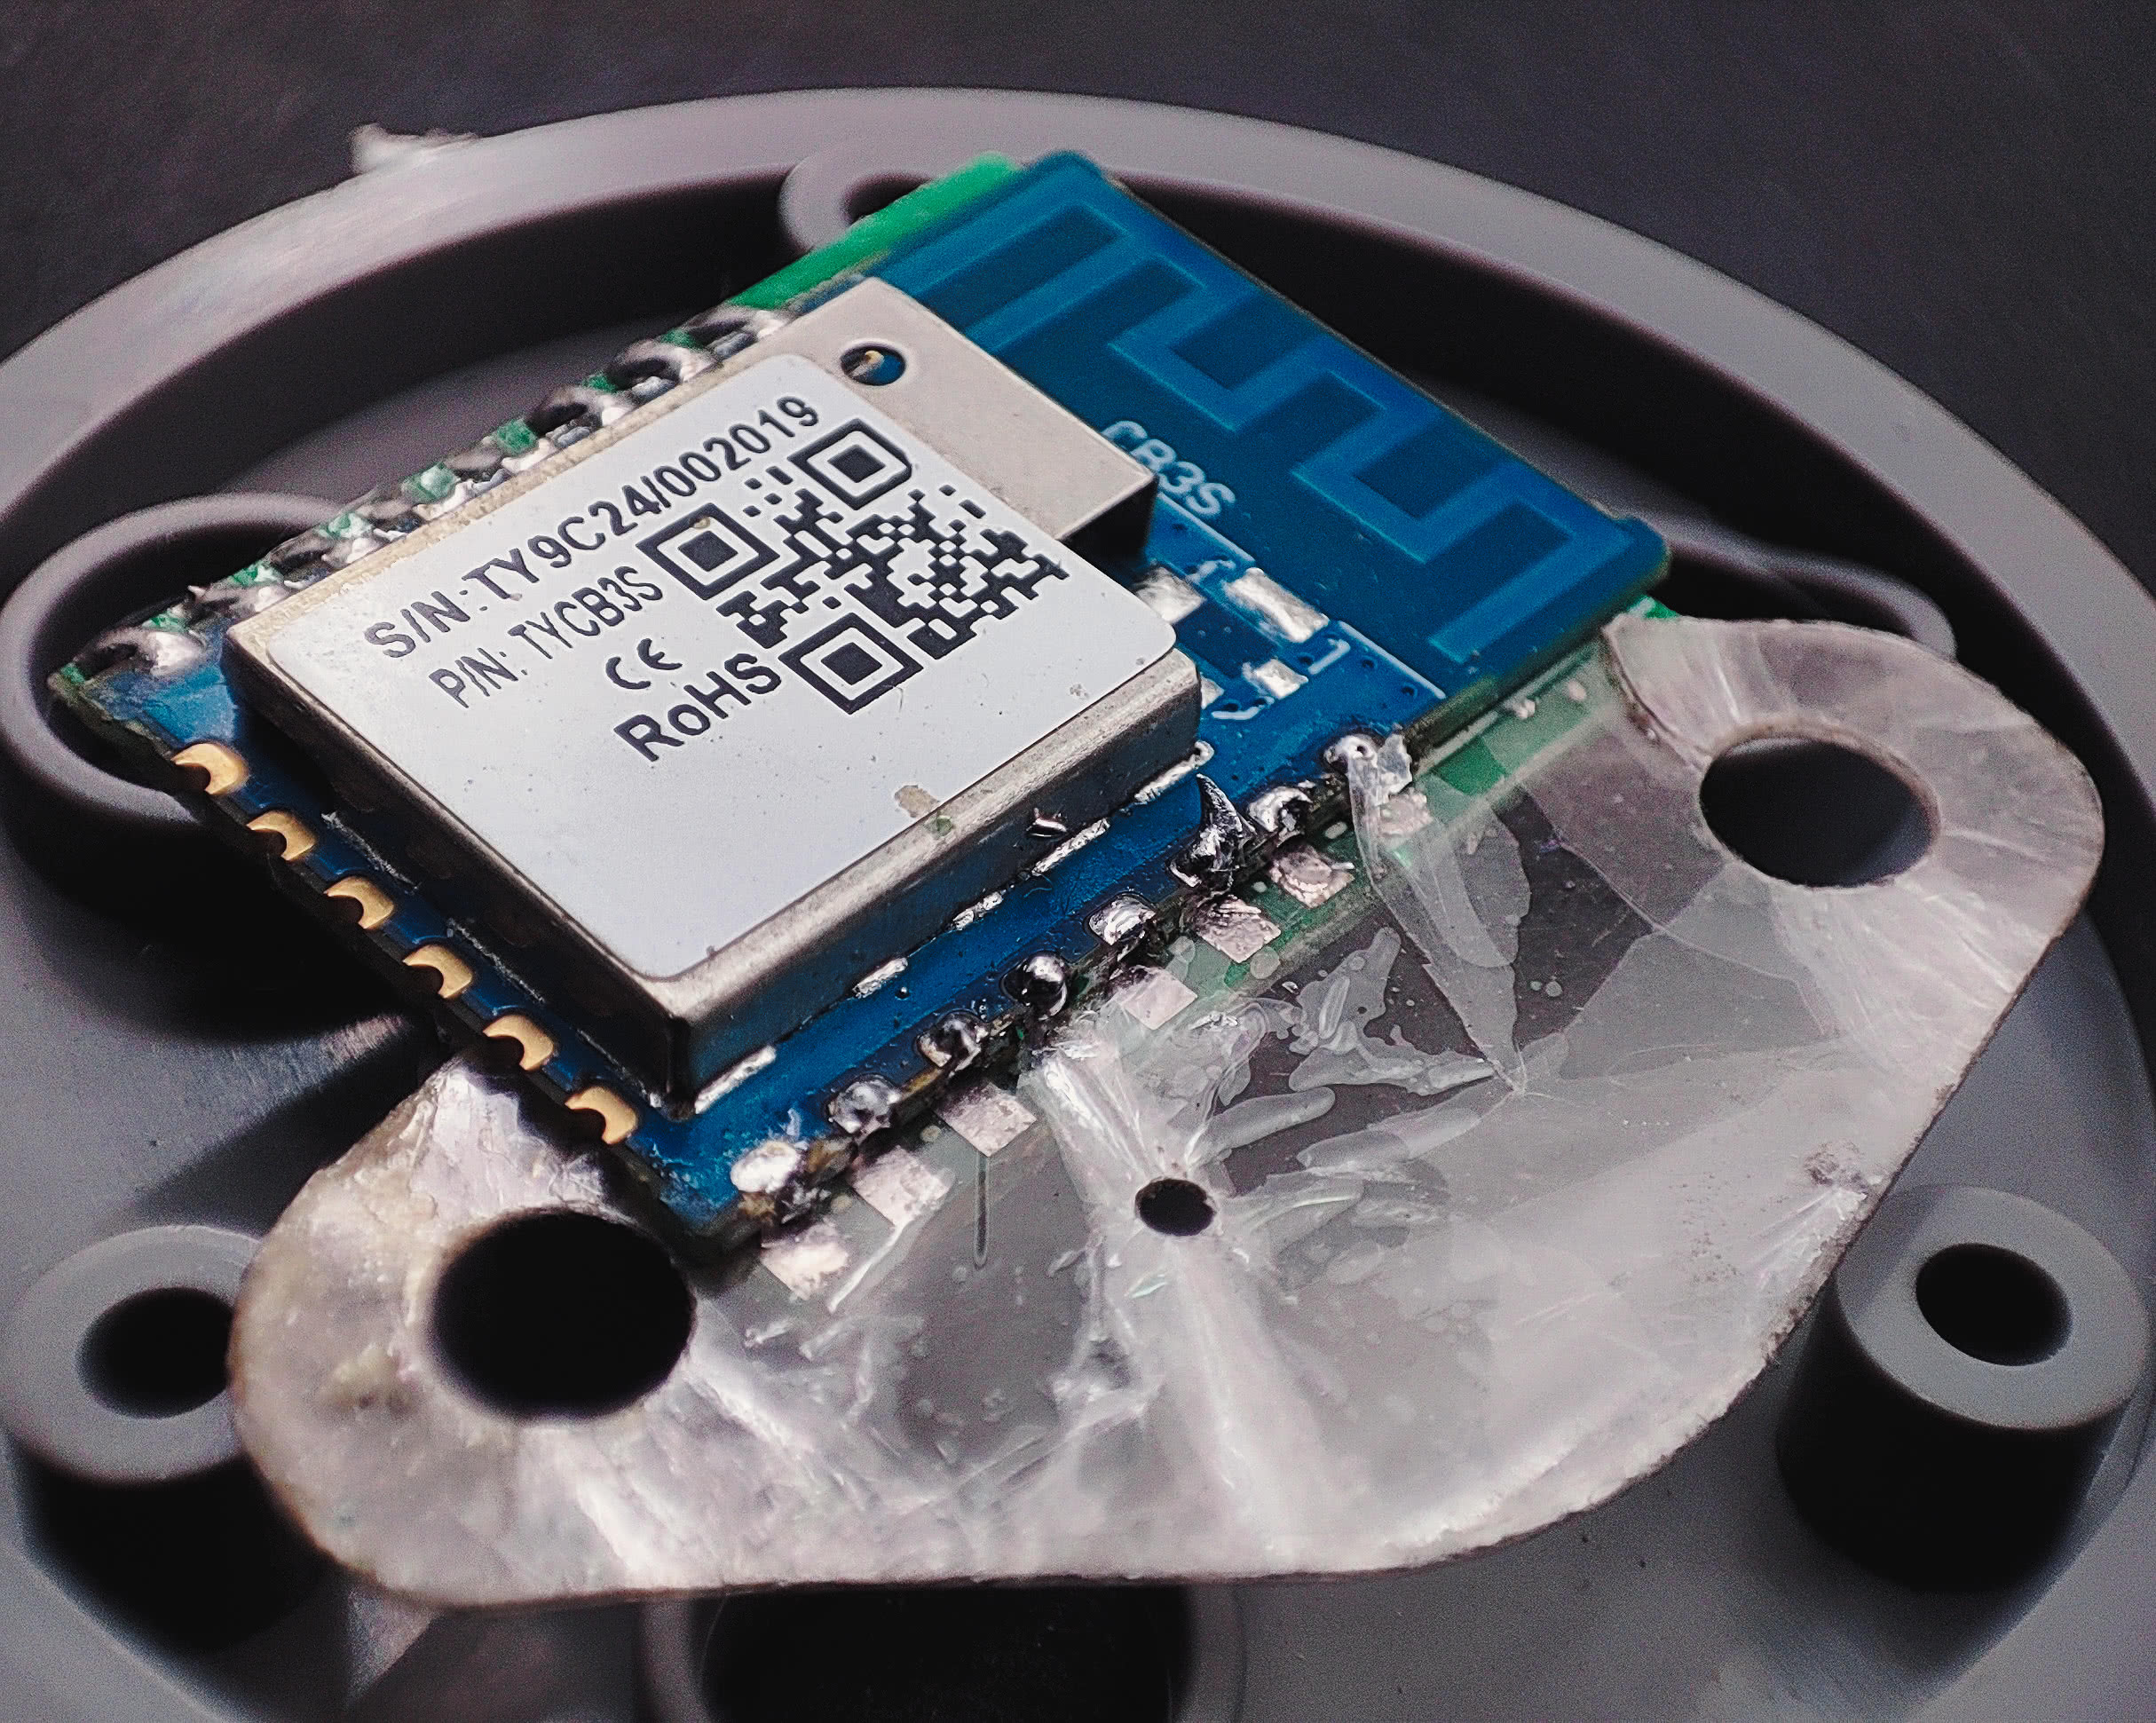
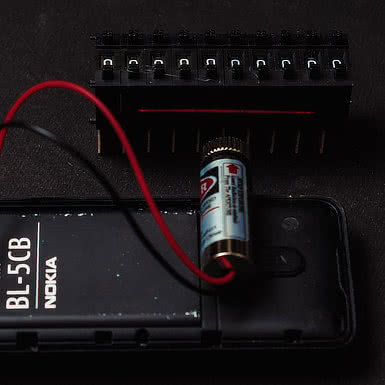
A mica heatsink insulator makes easy the separation of the wi-fi module’s castellated pads.
One unused pad is lost to this method.
The same technique recovers this ESP-12F module from a water-damaged board.
It is then learnt that ESP12 modules are not pin-compatible with the Tuya CB3S.
Header pins P1, top to bottom: HLWBL SEL_i, HLWBL CF1, BL0937 CF, Switch, Relay, Ground, +3.3V and LED.
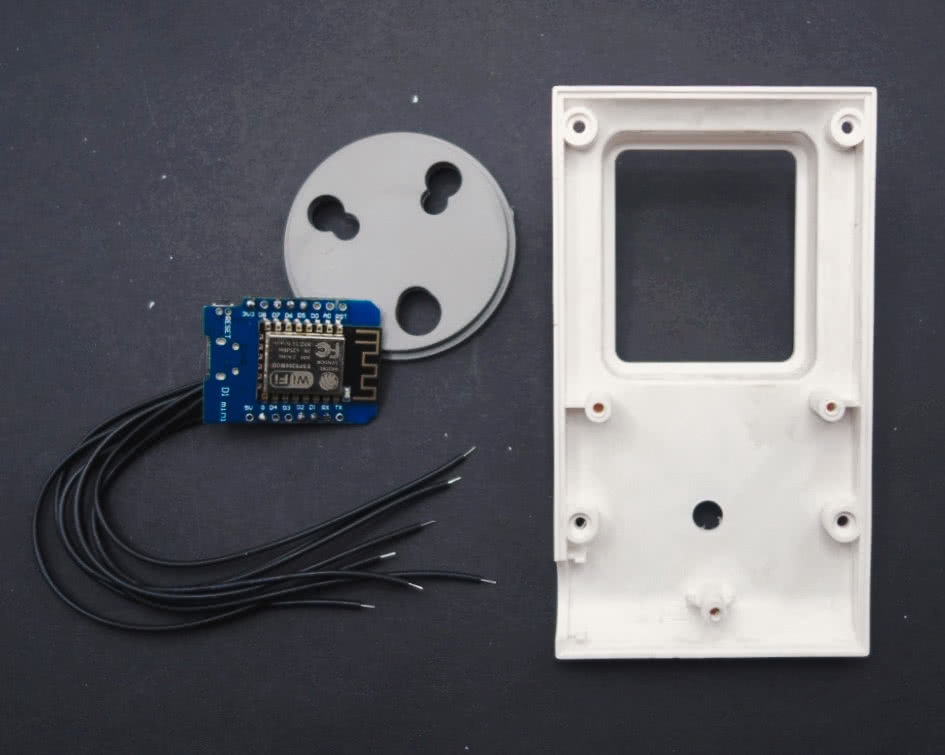
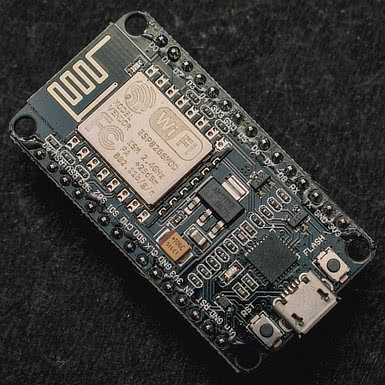
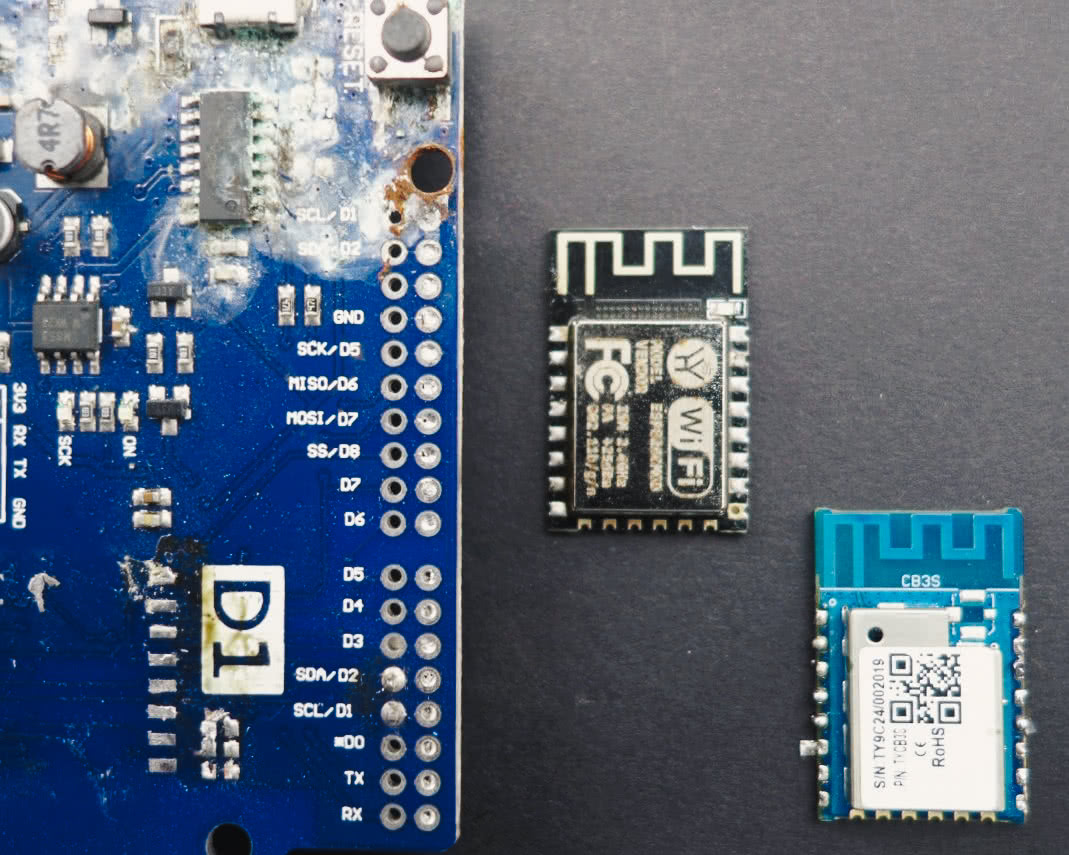
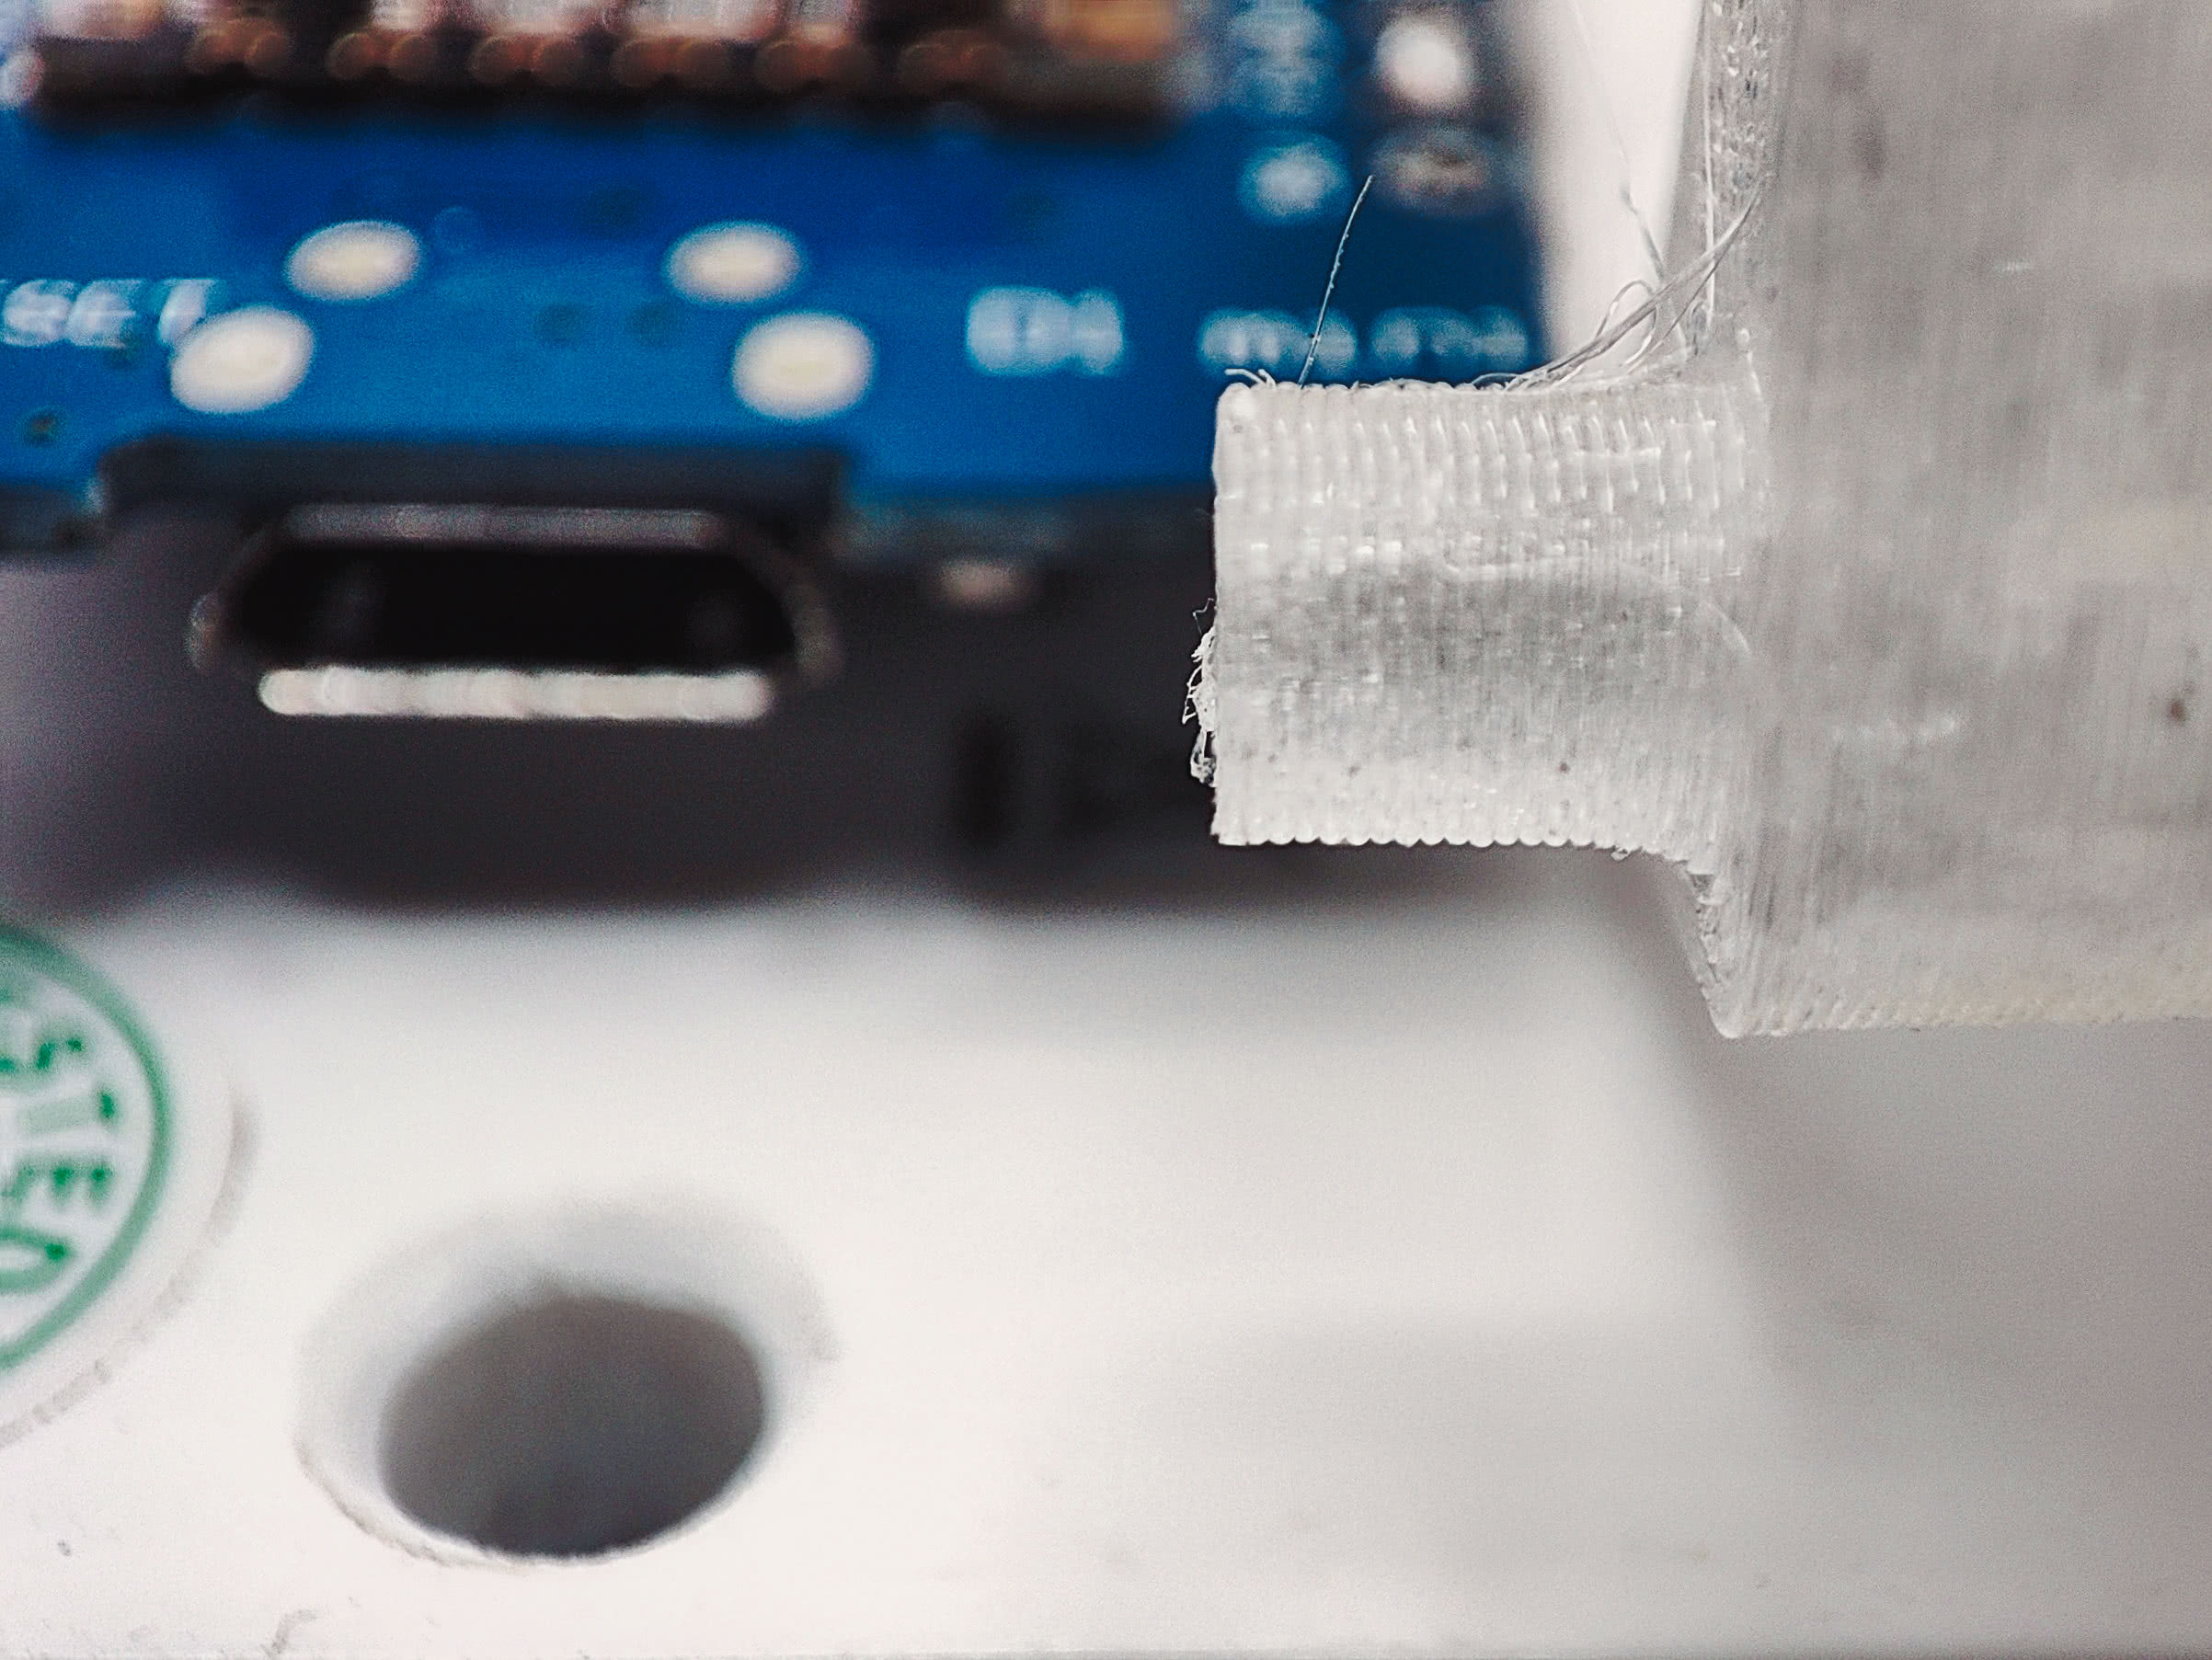
A Wemos D1 Mini is wired up. Space constraints necessitate a hole drilled in the rear of the enclosure.
The tasmota template is based on the Polycab 16A for simplicity:
{
"NAME":"209004",
"GPIO":[0,0,544,32,2720,2656,0,0,2624,320,224,0,0,0],
"FLAG":0,
"BASE":18
}
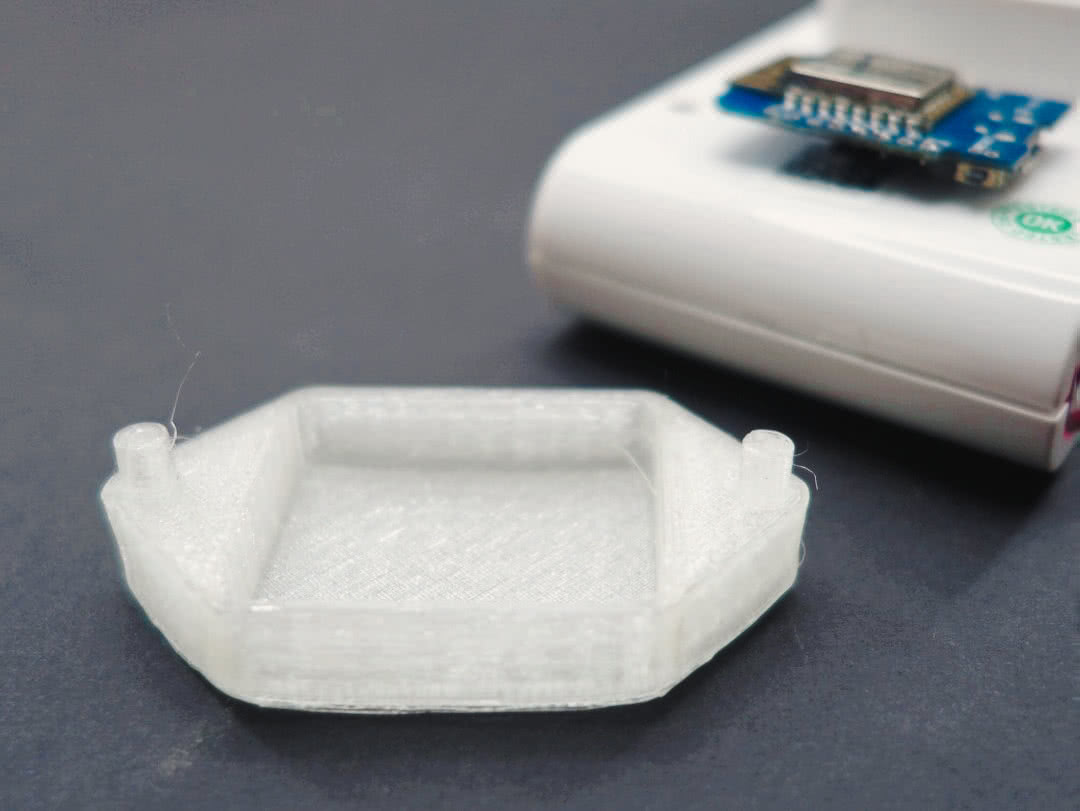
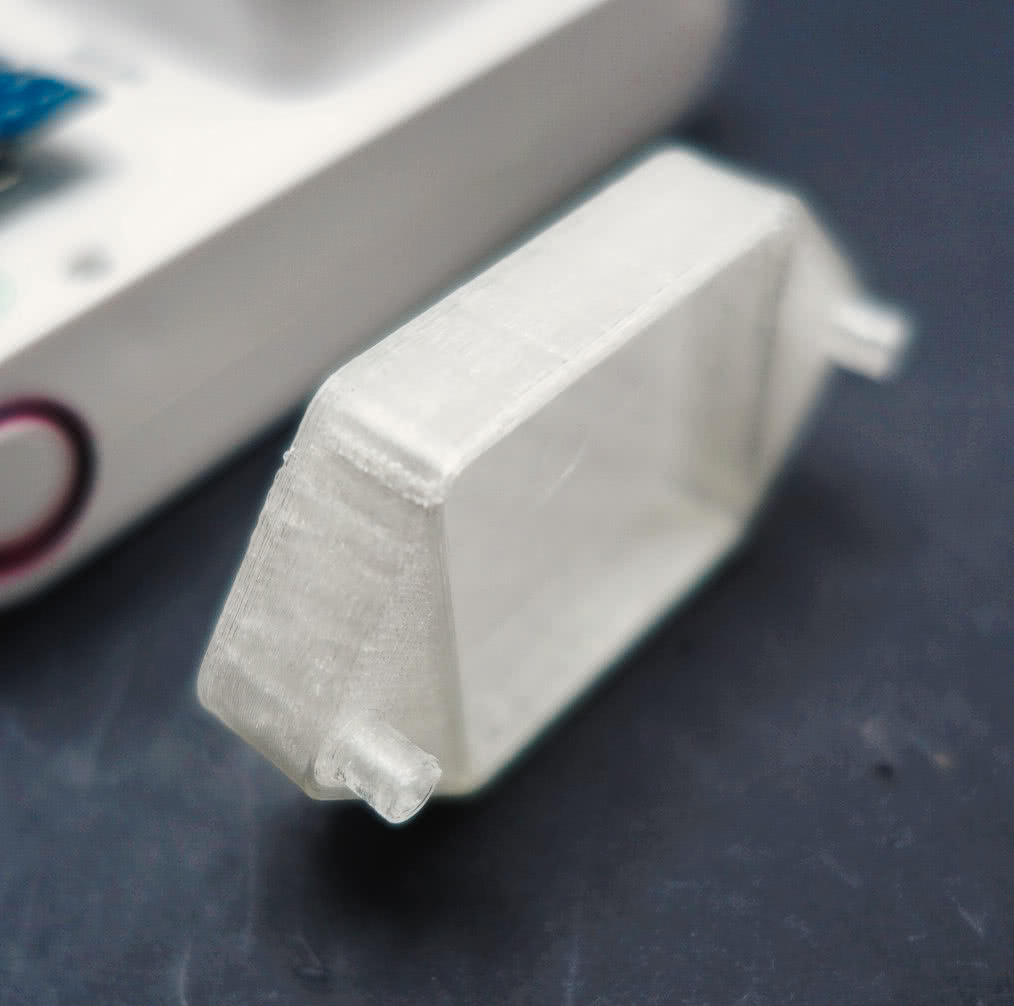
A cover is programmatically generated and 3d-printed.
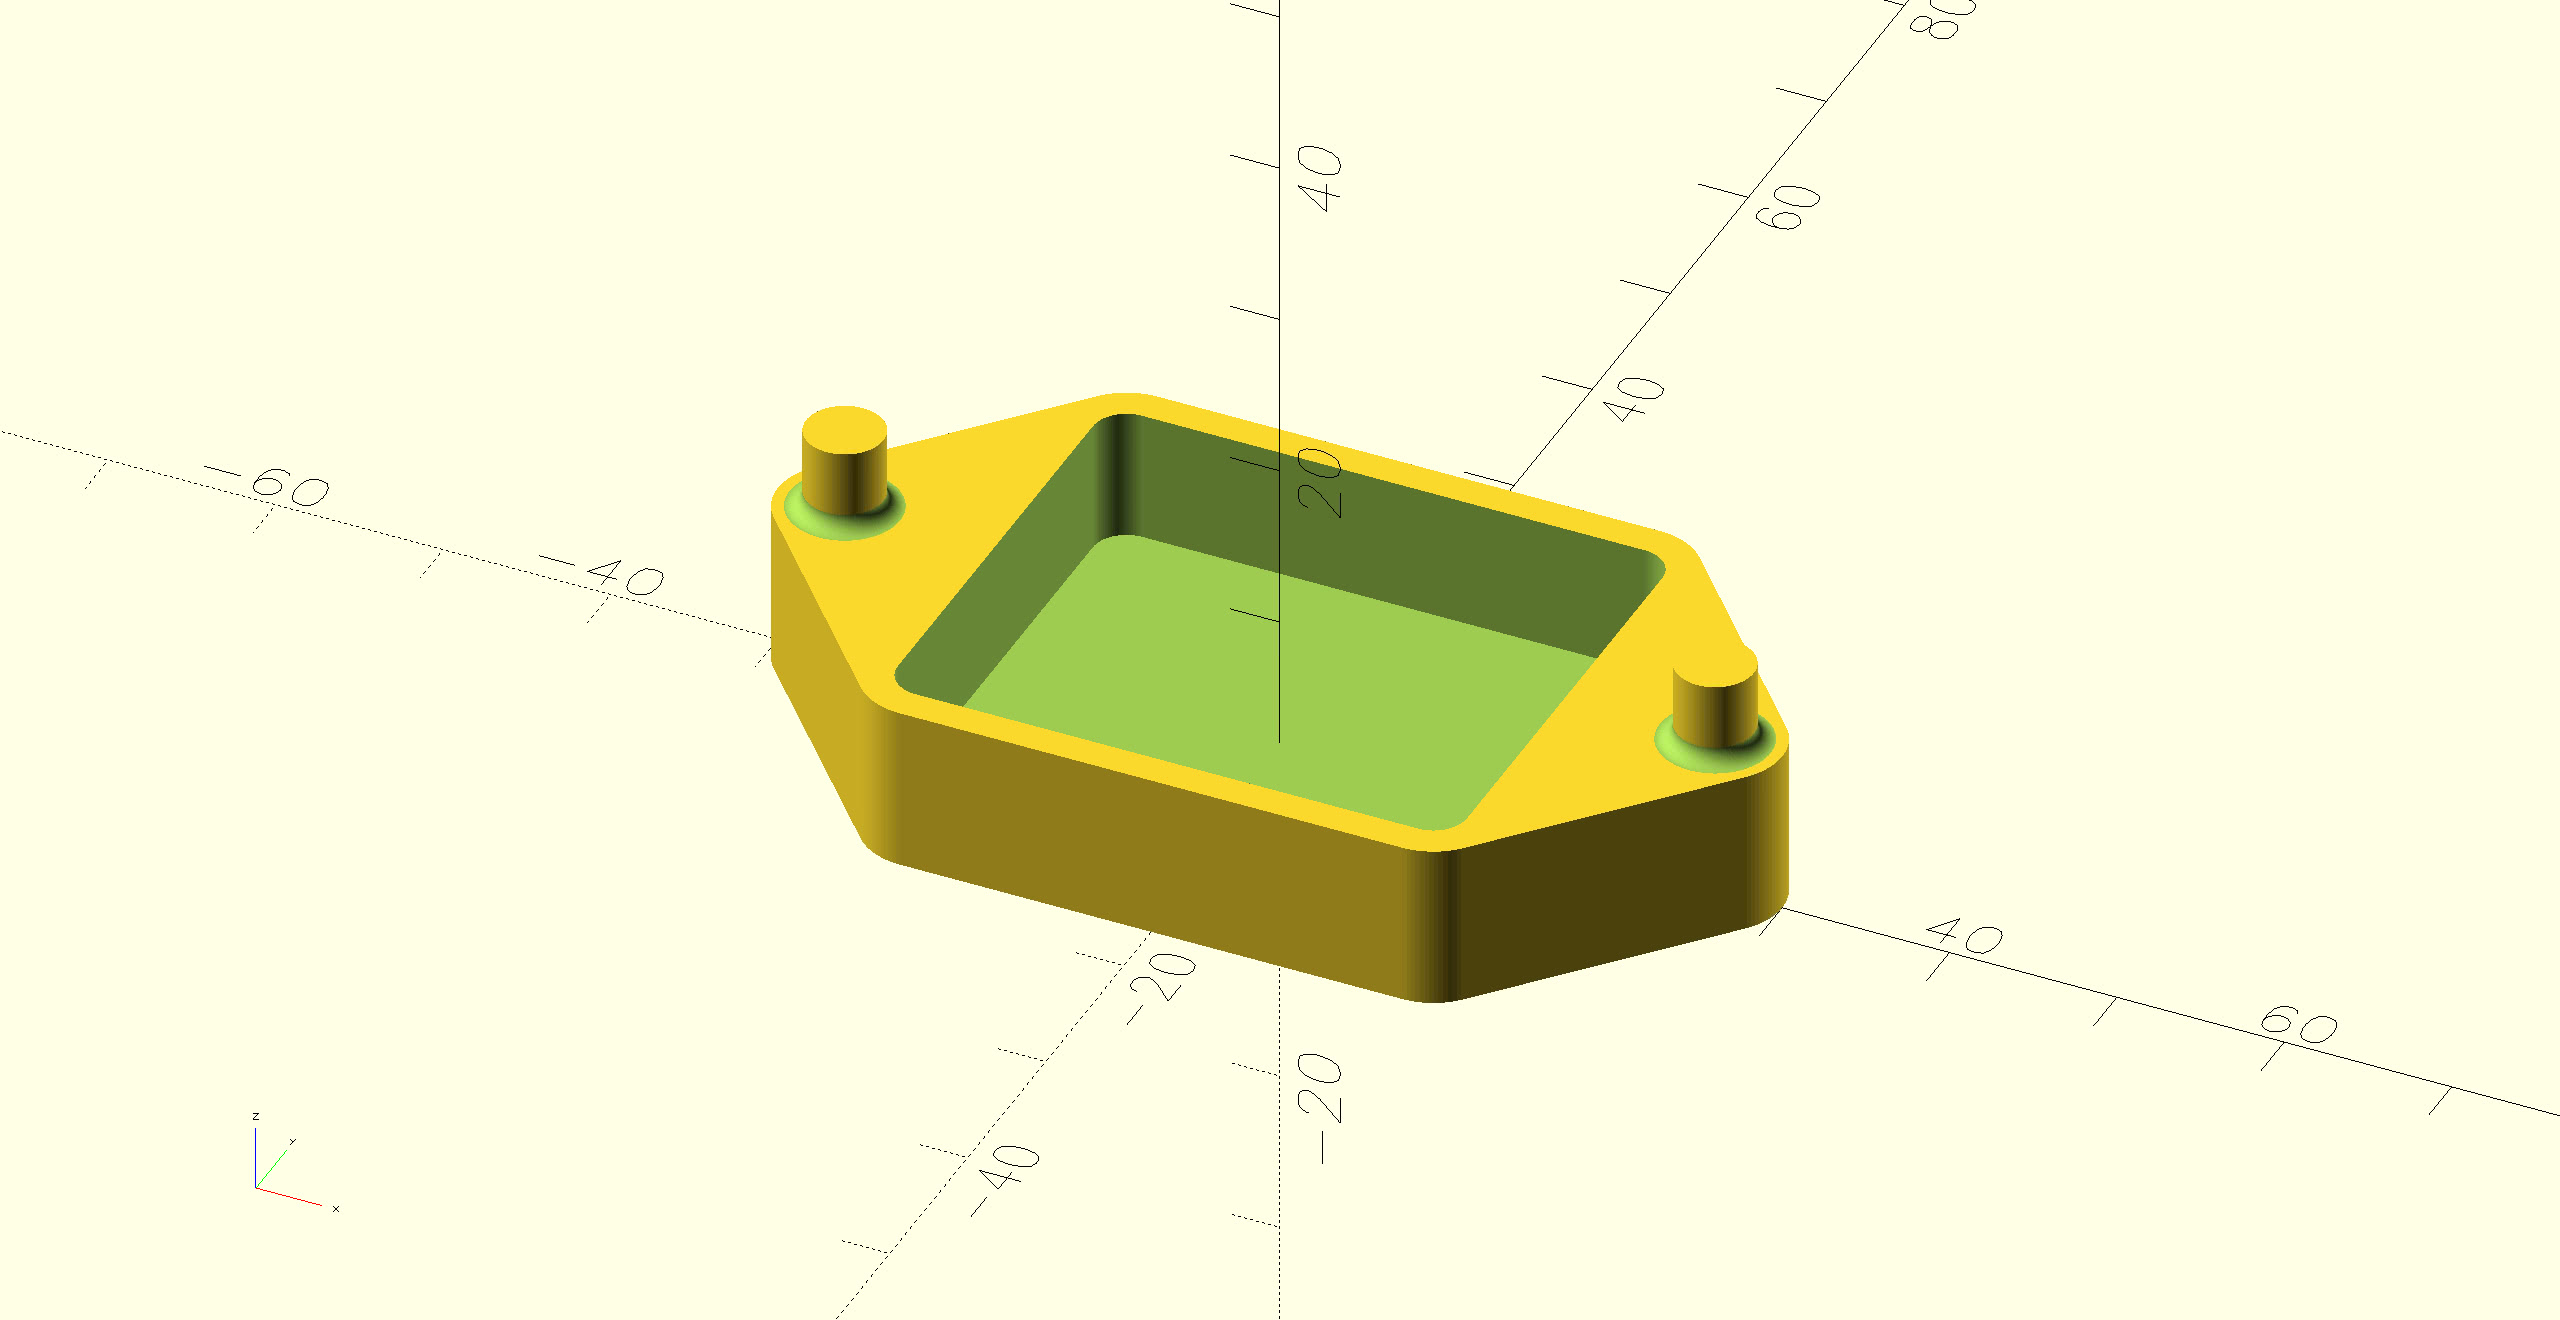
Aforementioned programmatically generated model in OpenSCAD. The code:
$fn=100;
points=[[30,25,0],[30,0,0],[0,25,0],[0,0,0]];
module end() {
  cylinder(d=8, h=10);
}
module box(points, radius, height){
  /* hackaday.com/2018/02/13/openscad-tieing-it-together-with-hull */
  hull(){
    for (p = points){
      translate(p) cylinder(r=radius, h=height);
    }
  }
}
module peg() {
  translate([0, 0, 10]) {
    klam_fillet_cylinder(cylinder_height=5,
    cylinder_radius=2.3,
    fillet_radius_bottom=1,
    fillet_radius_top=0,
    nfaces=100);
  }
}
module klam_fillet_cylinder(
  cylinder_height=2,
  cylinder_radius=1,
  fillet_radius_bottom=1,
  fillet_radius_top=0,
  nfaces=100) {
  /* klamfx.wordpress.com/2016/12/03/creating-a-filleted-cylinder-in-openscad */
  union() {
    cylinder(cylinder_height, r=cylinder_radius, $fn=nfaces);
    if (fillet_radius_bottom > 0) {
      difference() {
        cylinder(fillet_radius_bottom,
        r=cylinder_radius+fillet_radius_bottom,
        $fn=nfaces);
        translate([0, 0, fillet_radius_bottom])
        rotate_extrude($fn=nfaces)
        translate([cylinder_radius+fillet_radius_bottom, 0, 0])
        circle(fillet_radius_bottom, $fn=nfaces);
      }
    }
    if (fillet_radius_top > 0) {
      difference() {
        translate([0,0,cylinder_height-fillet_radius_top])
        cylinder(fillet_radius_top,
        r=cylinder_radius+fillet_radius_top,
        $fn=nfaces);
        translate([0, 0, cylinder_height-fillet_radius_top])
        rotate_extrude($fn=nfaces)
        translate([cylinder_radius+fillet_radius_top, 0, 0])
        circle(fillet_radius_top, $fn=nfaces);
      }
    }
  }
}
union() {
  translate([-26, 0, 0]) {
    end();
    peg();
  }
  translate([26, 0, 0]) {
    end();
    peg();
  }
  difference() {
    hull() {
      translate([-15, -12.5, 0]) box(points, radius=4, height=10);
      translate([-26, 0, 0]) end();
      translate([26, 0, 0]) end();
    }
    translate([-15, -12.5, 2]) box(points, radius=2, height=8);
  }
}
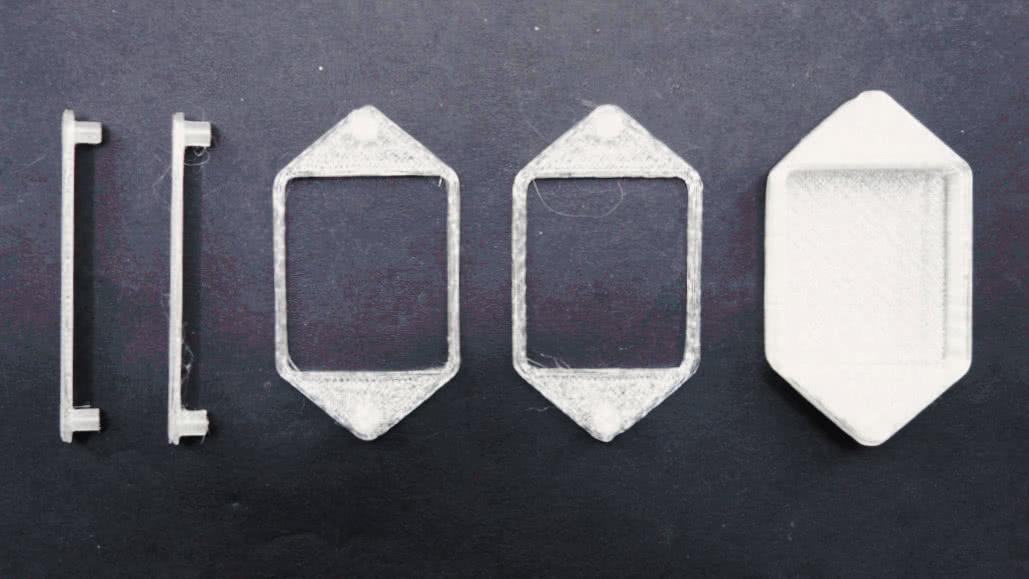
Obligatory progressive iteration.
A well-tuned 3d printer yields rewarding results.
Fillets on the pegs strengthen the part, countersinking screw holes help accommodate them.
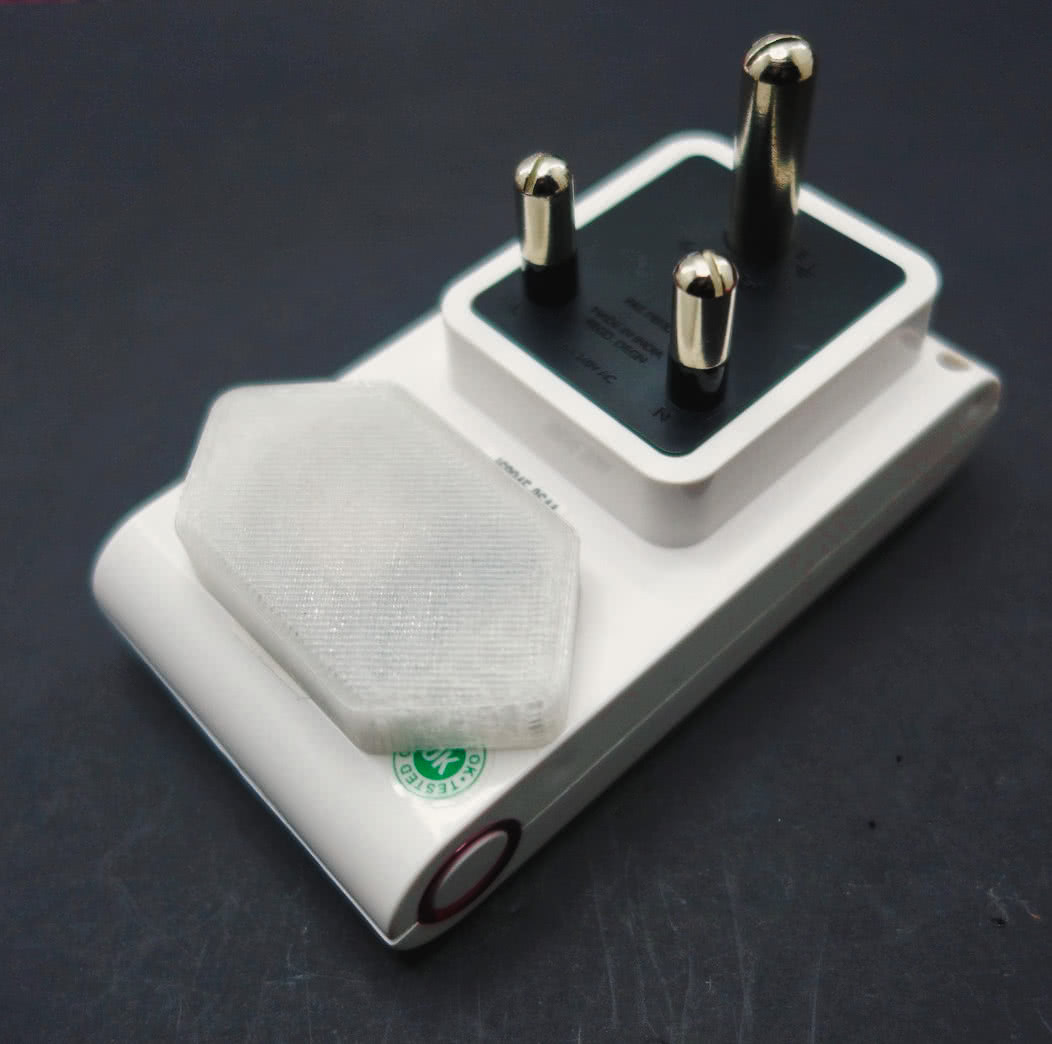
After umpteen iterations, a snug friction fit is achieved.

It is as if it was designed for this modification.
A soft blue glow from the D1 mini’s led validates the use of a translucent filament.