Tasmotizing a Polycab Wi-Fi Plug
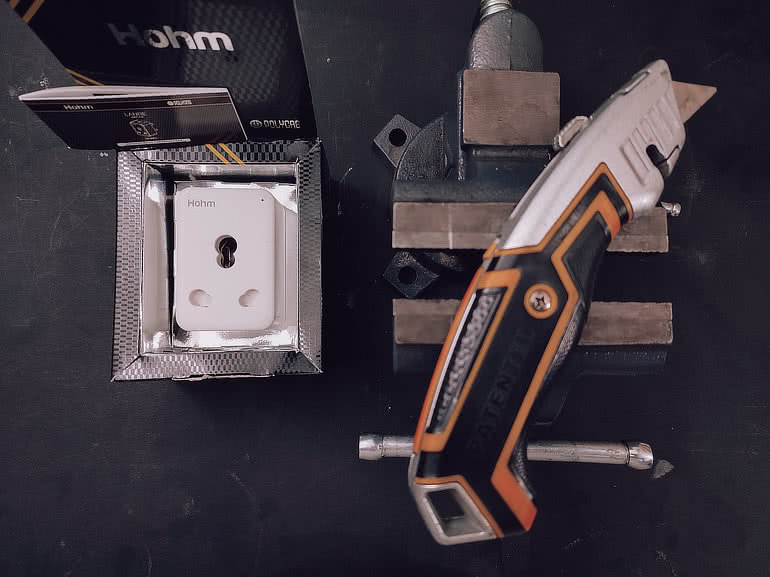
Documenting the process involved in preparing this smart plug for loading the very much excellent custom firmware Tasmota. It’s not particularly easy but very much essential.
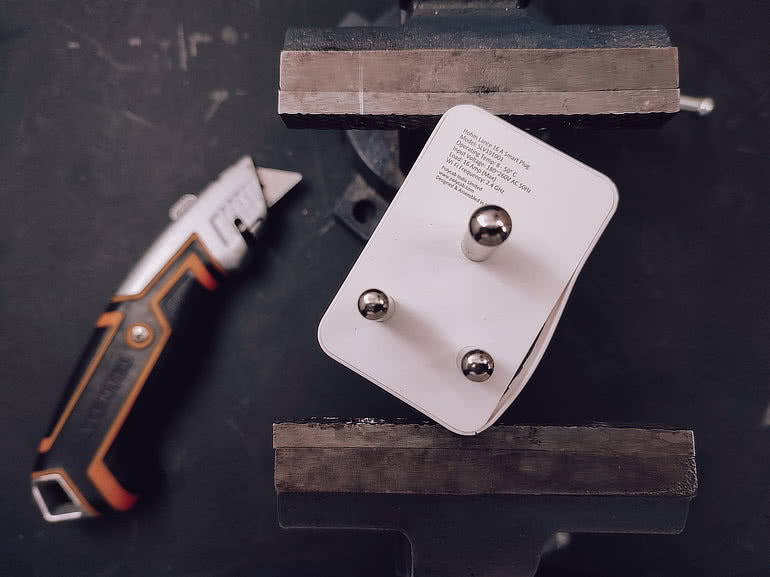
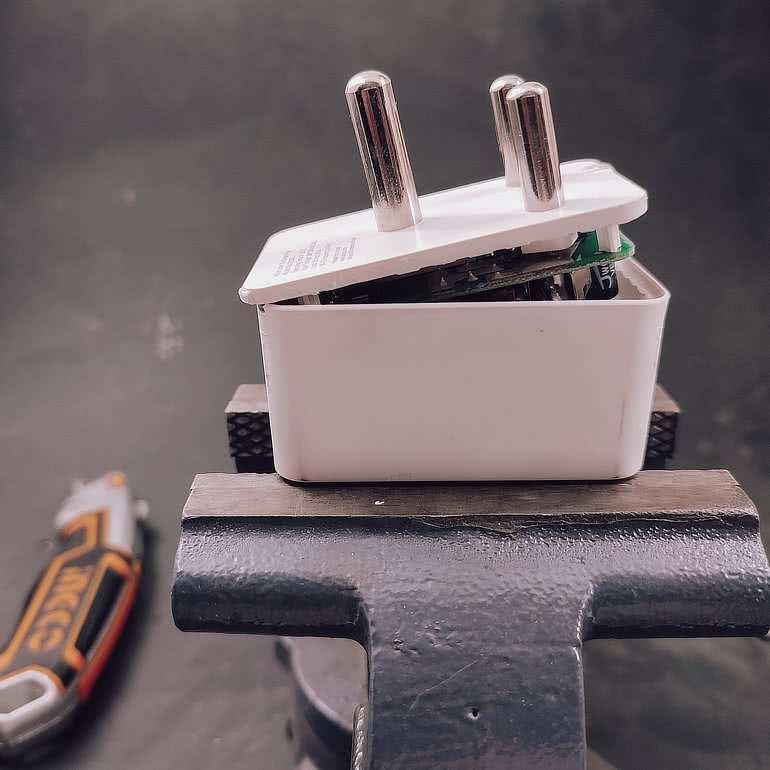
A vise helps with separating the casing.
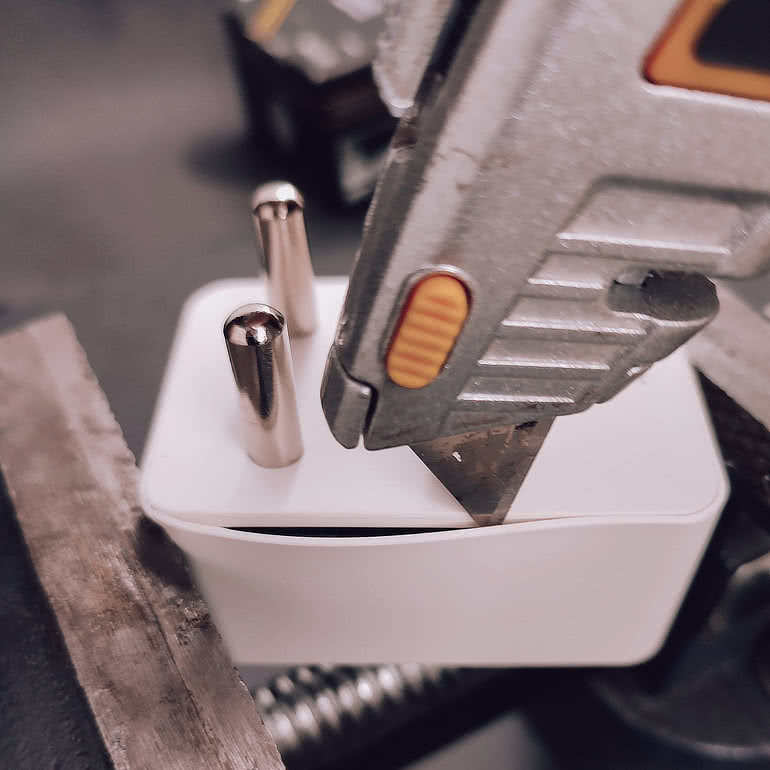
Which can then be helped with a box cutter.
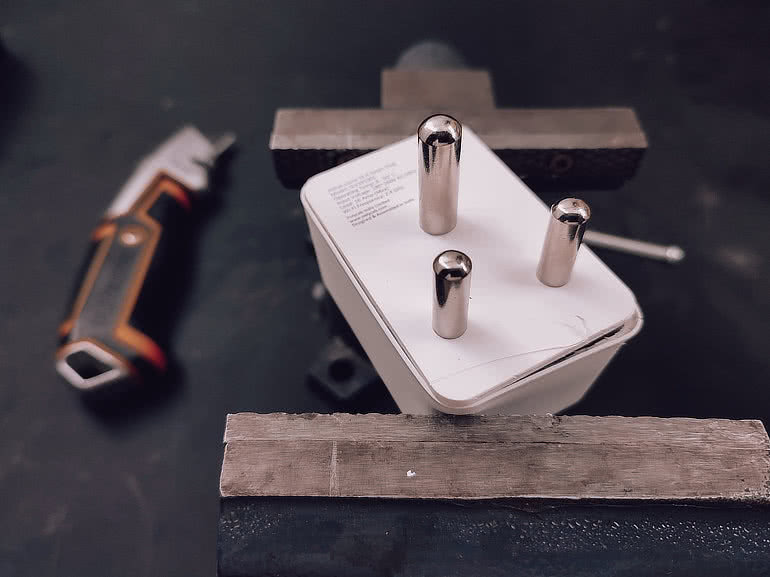
Eventually the bottom edge will separate completely.
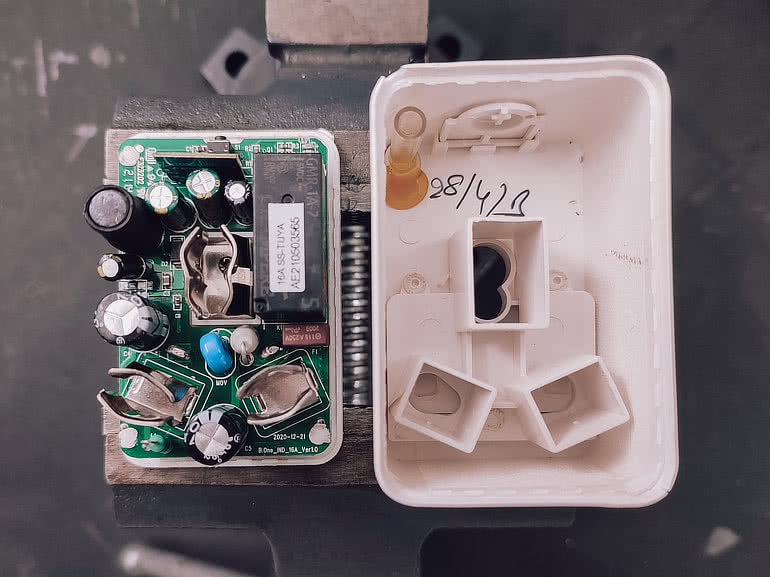
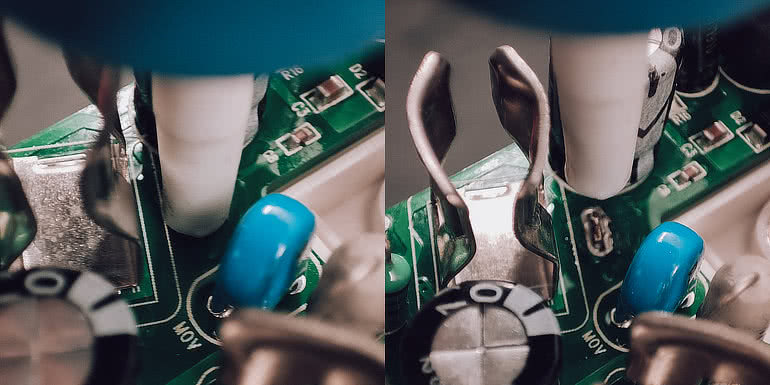
Which can then be lifted up with a considerable amount of force. This step should not be done on the 10A version, there’s an essential electrolytic capacitor that will tear away if this pivoted lift is attempted.
Your first 10,000 tear-downs are your worst.
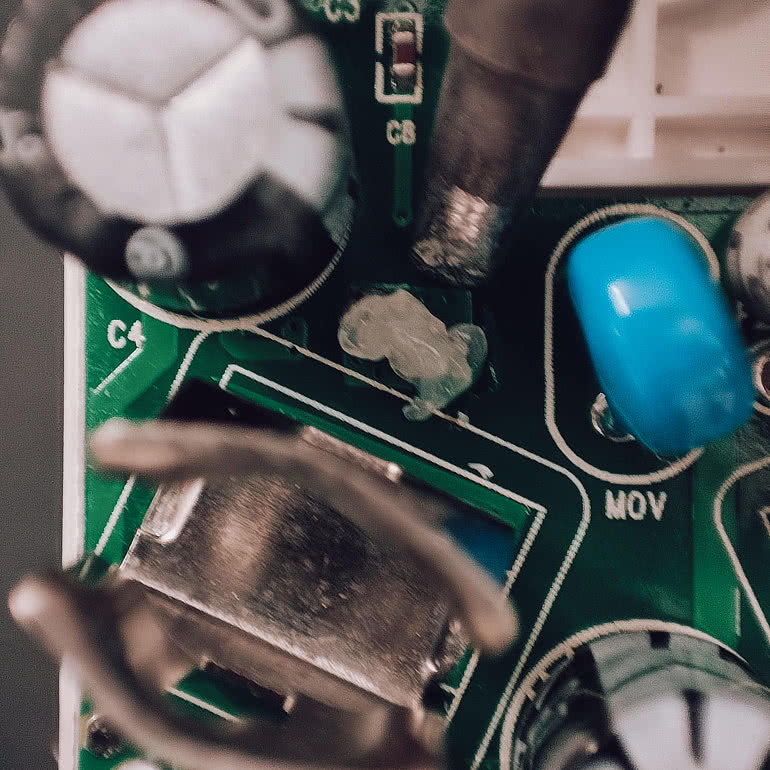
Next is to remove the earthing pin contact, which can be easily unscrewed.
It’s also very easy to forget to reattach it at the end.
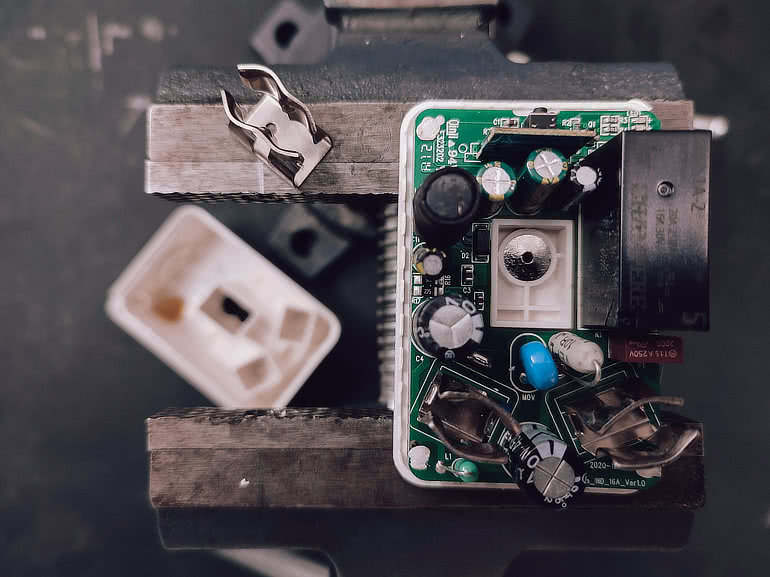
Cutting away at the heatstaking now will make removal of the pcb during desoldering much easier.
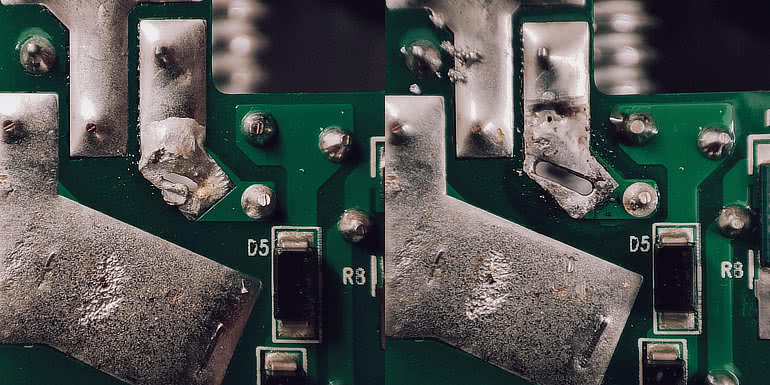
A generous blob of flux helps with temperature set at 350C.
A desoldering pump is essential in removing large amounts of molten solder from the pin.
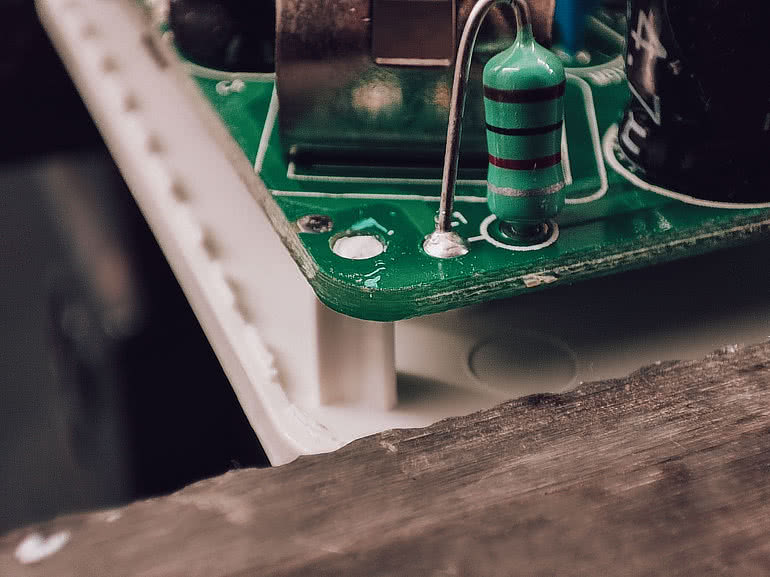
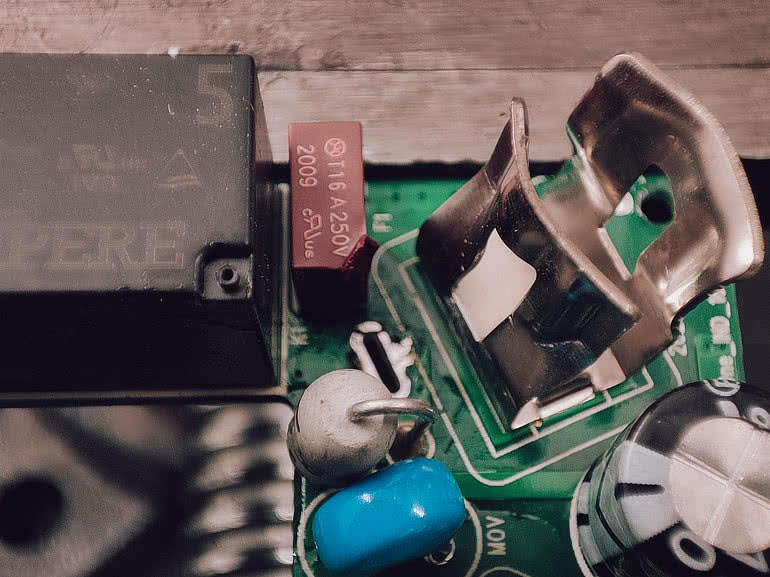
Here, the fuse suffered a little so the metal contact was bent a little to make space for the soldering iron. Once the solder is molten, the pcb can be wriggled free. The heavy vise makes a good third hand in this situation.
Cleaning up the holes is always a good idea.
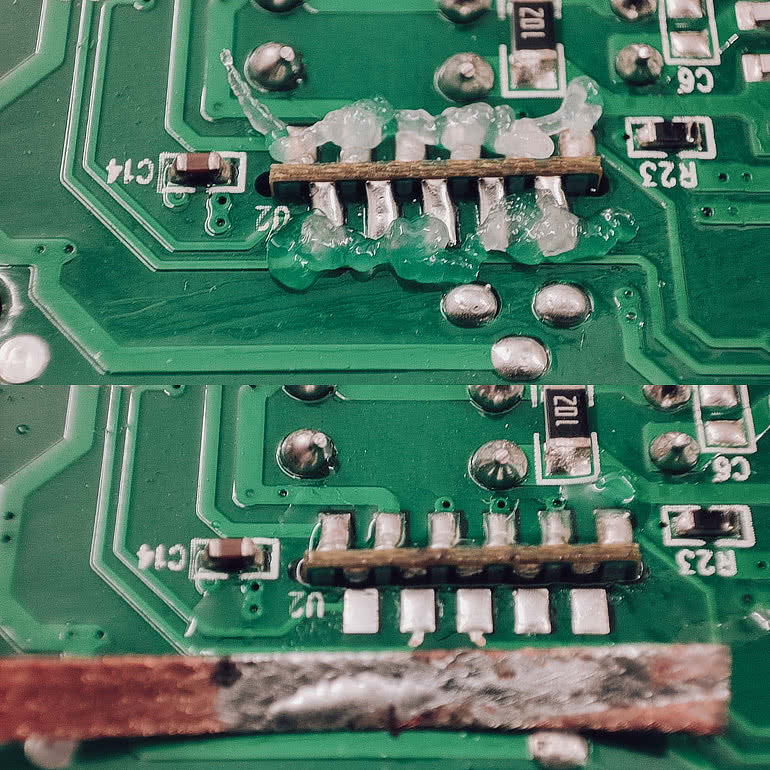
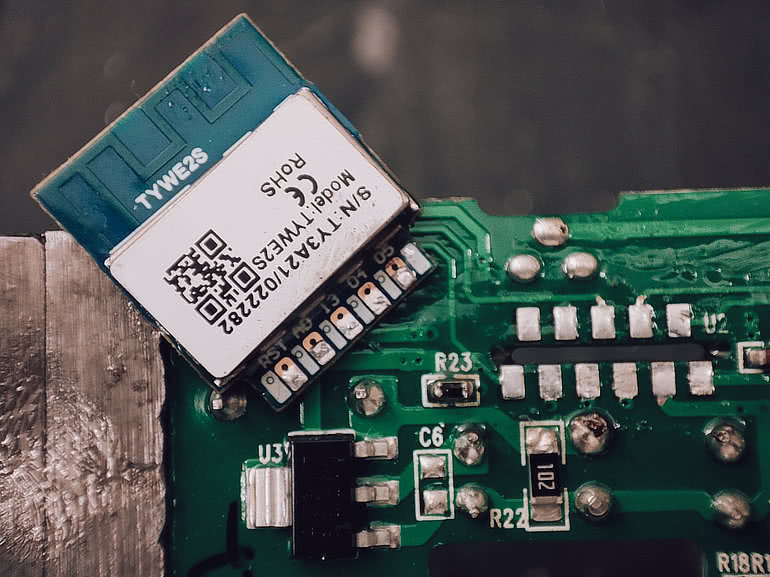
A desoldering wick is essential in removing solder between the main pcb and wifi module, at 260C.
This Tuya TYWE2S module is now free.
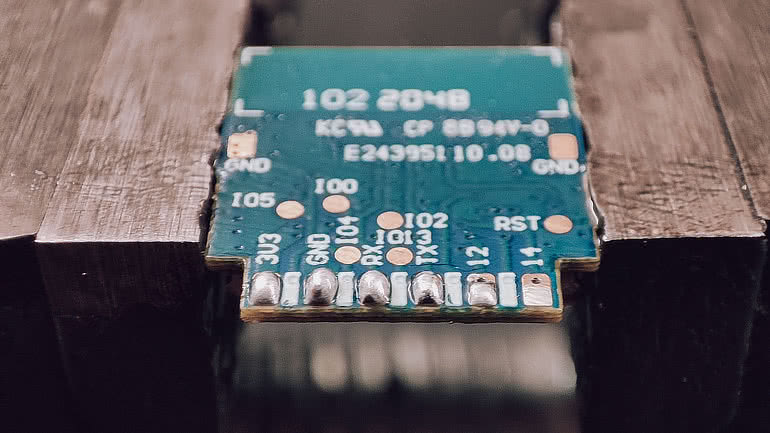
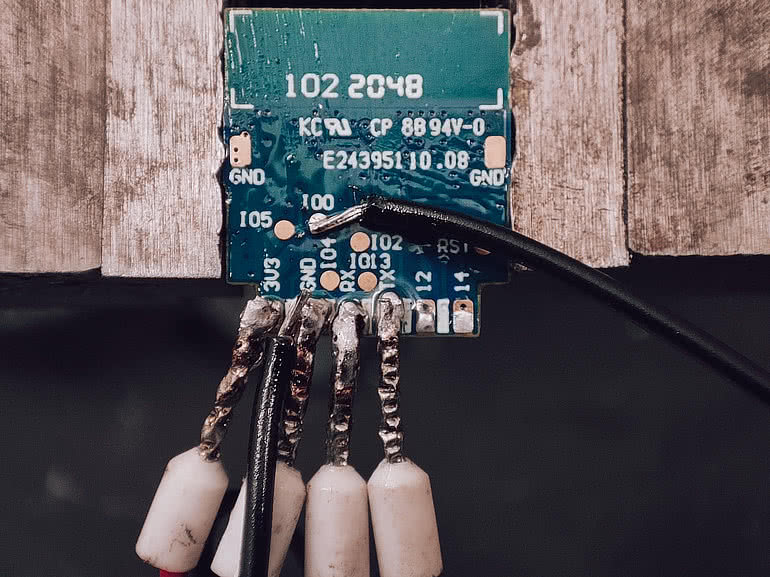
Pre-applying small bits of solder helps with temporarily connecting a ch340 usb programmer.
The keyword here is temporarily. Proceed with Tasmota’s web installer, erasing the device when asked.
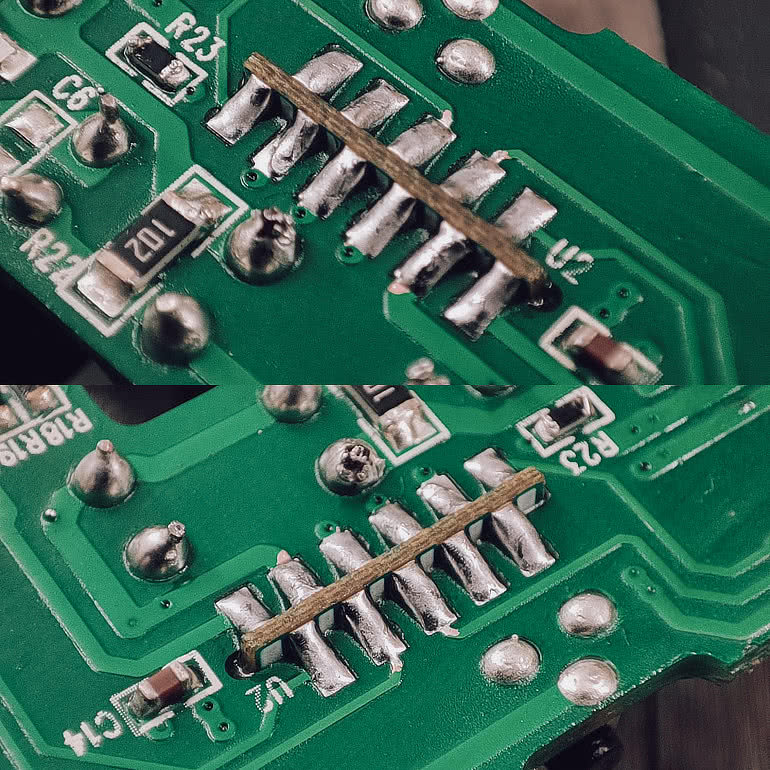
The most crucial part of the reassembly is to make sure there’s no shorts between the pads after resoldering.
Once tasmotized, this smart plug then needs to be calibrated.
A verbose version of this guide is on github.
The tasmota template:
{
"NAME":"SLV1910001",
"GPIO":[0,0,0,32,2720,2656,0,0,2624,576,224,0,0,0],
"FLAG":0,
"BASE":18
}


